How To Hang A Gallery Wall
Since moving into Maple House I wanted to create a large gallery wall but couldn’t decide on the style.
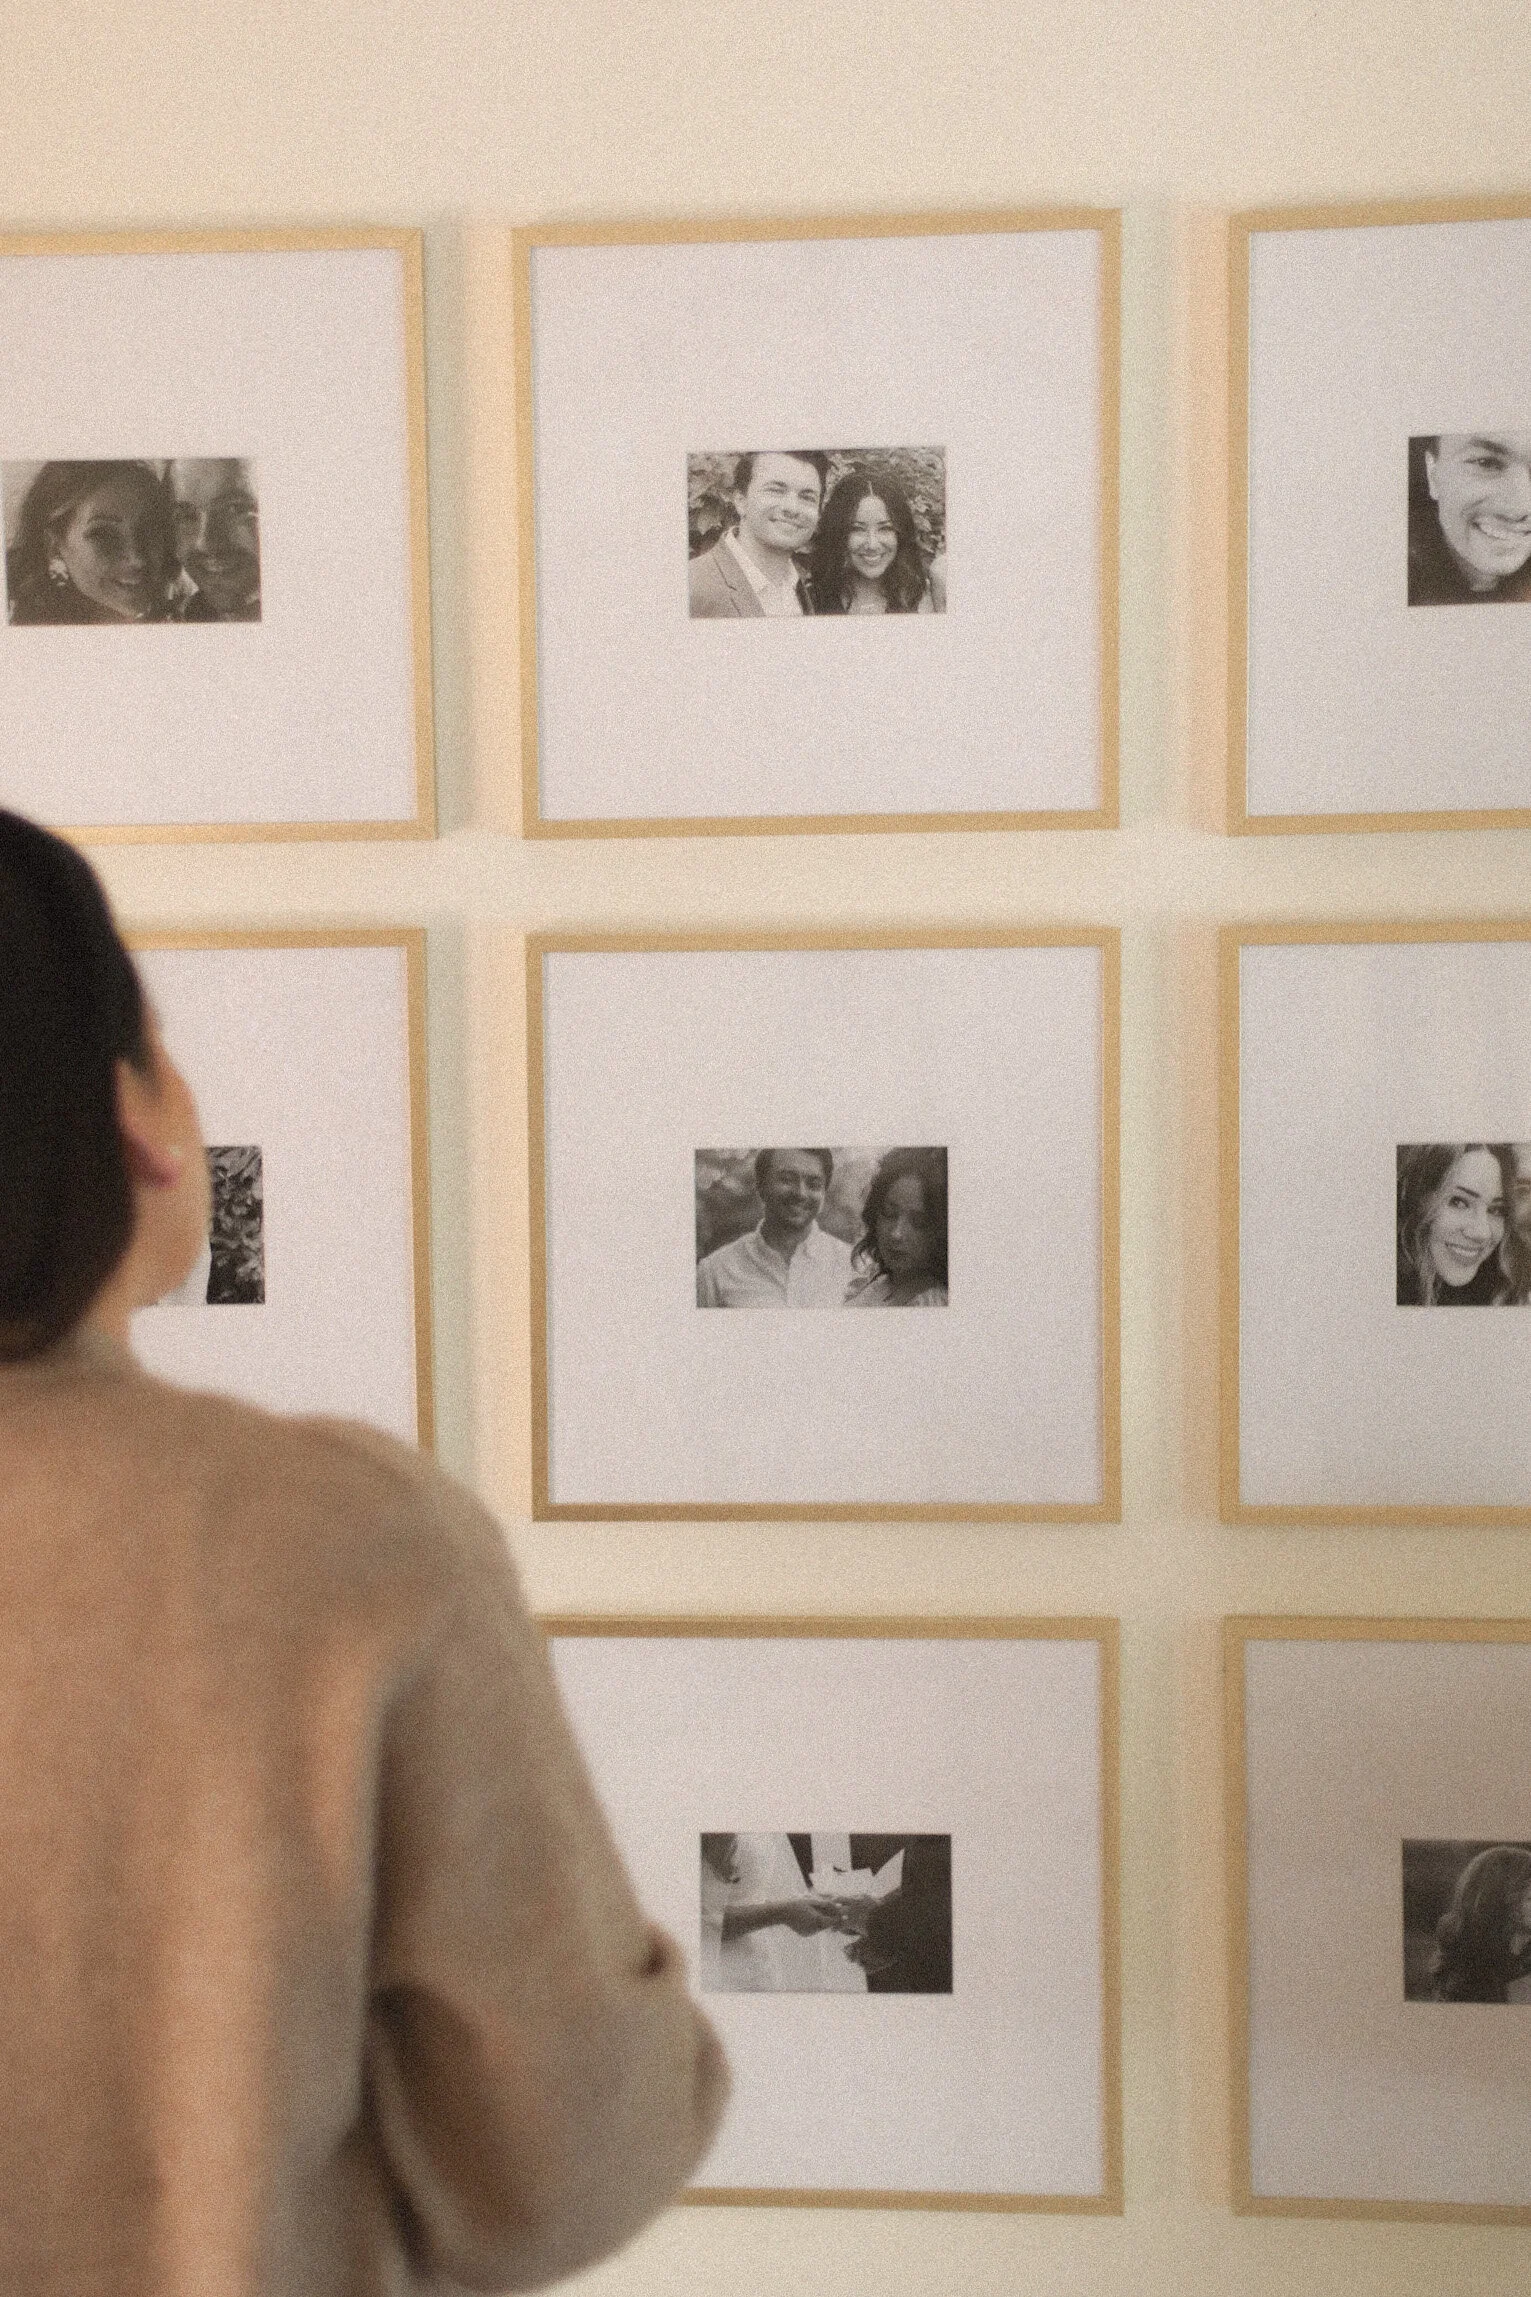
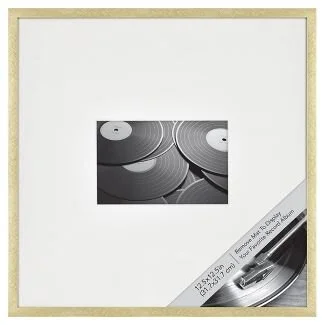
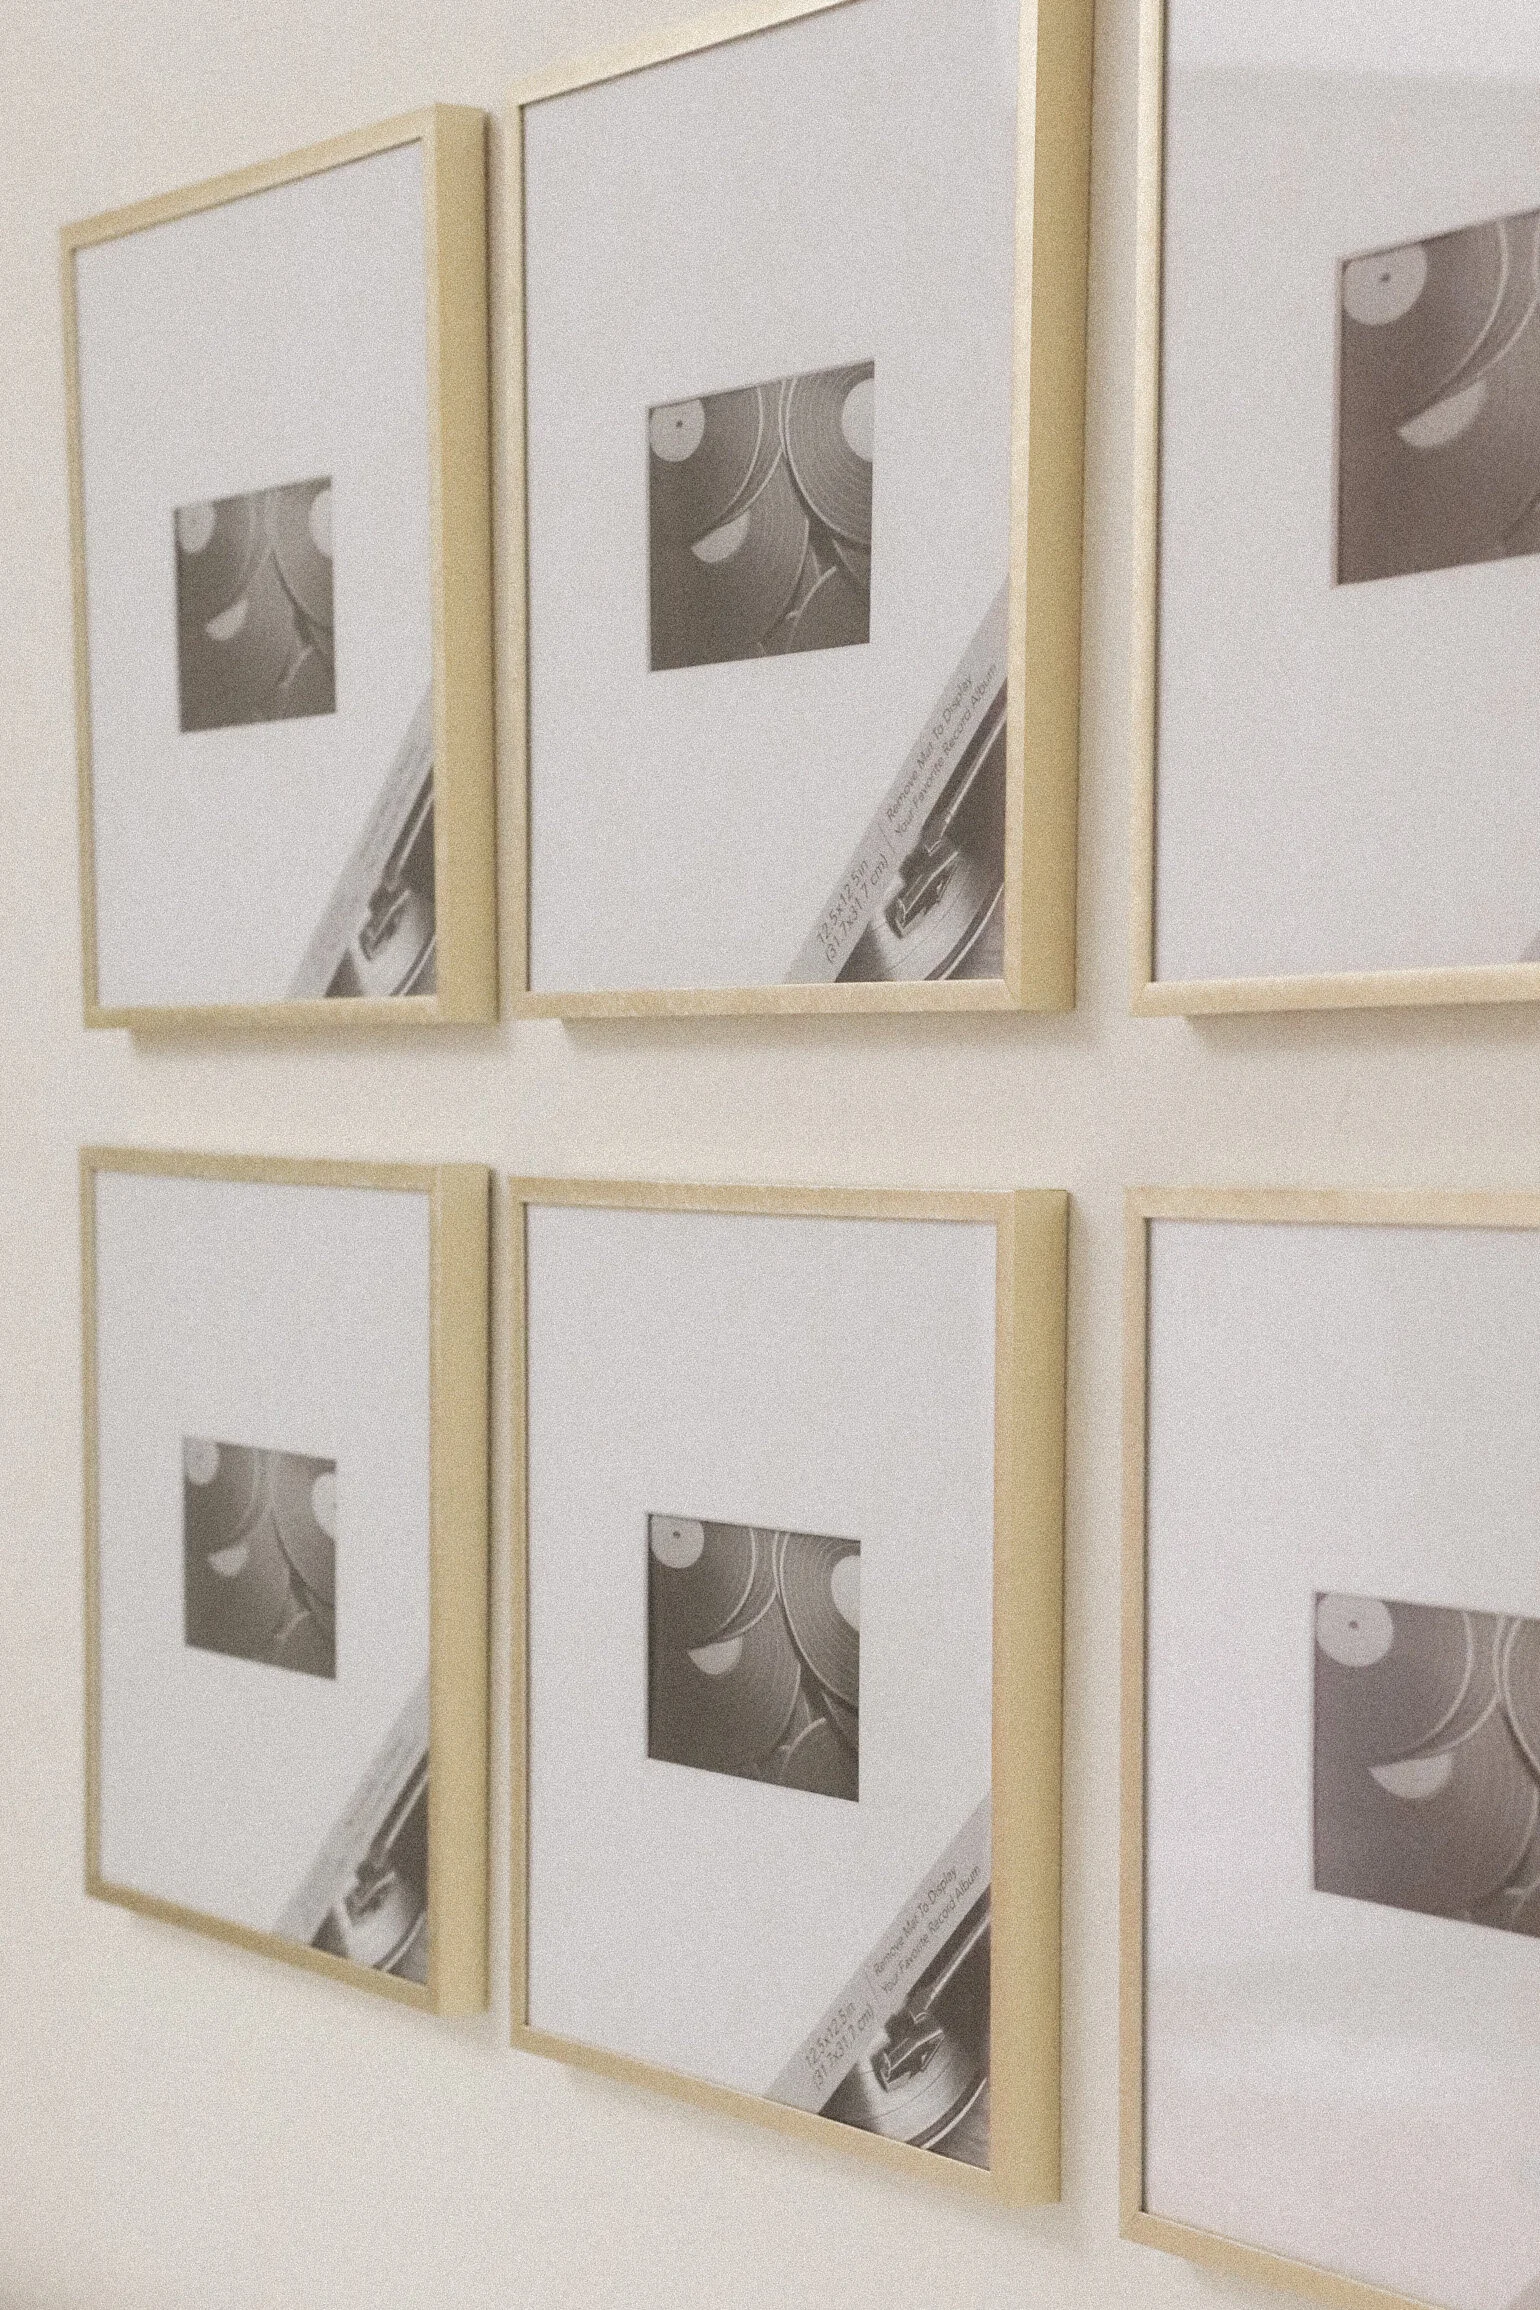
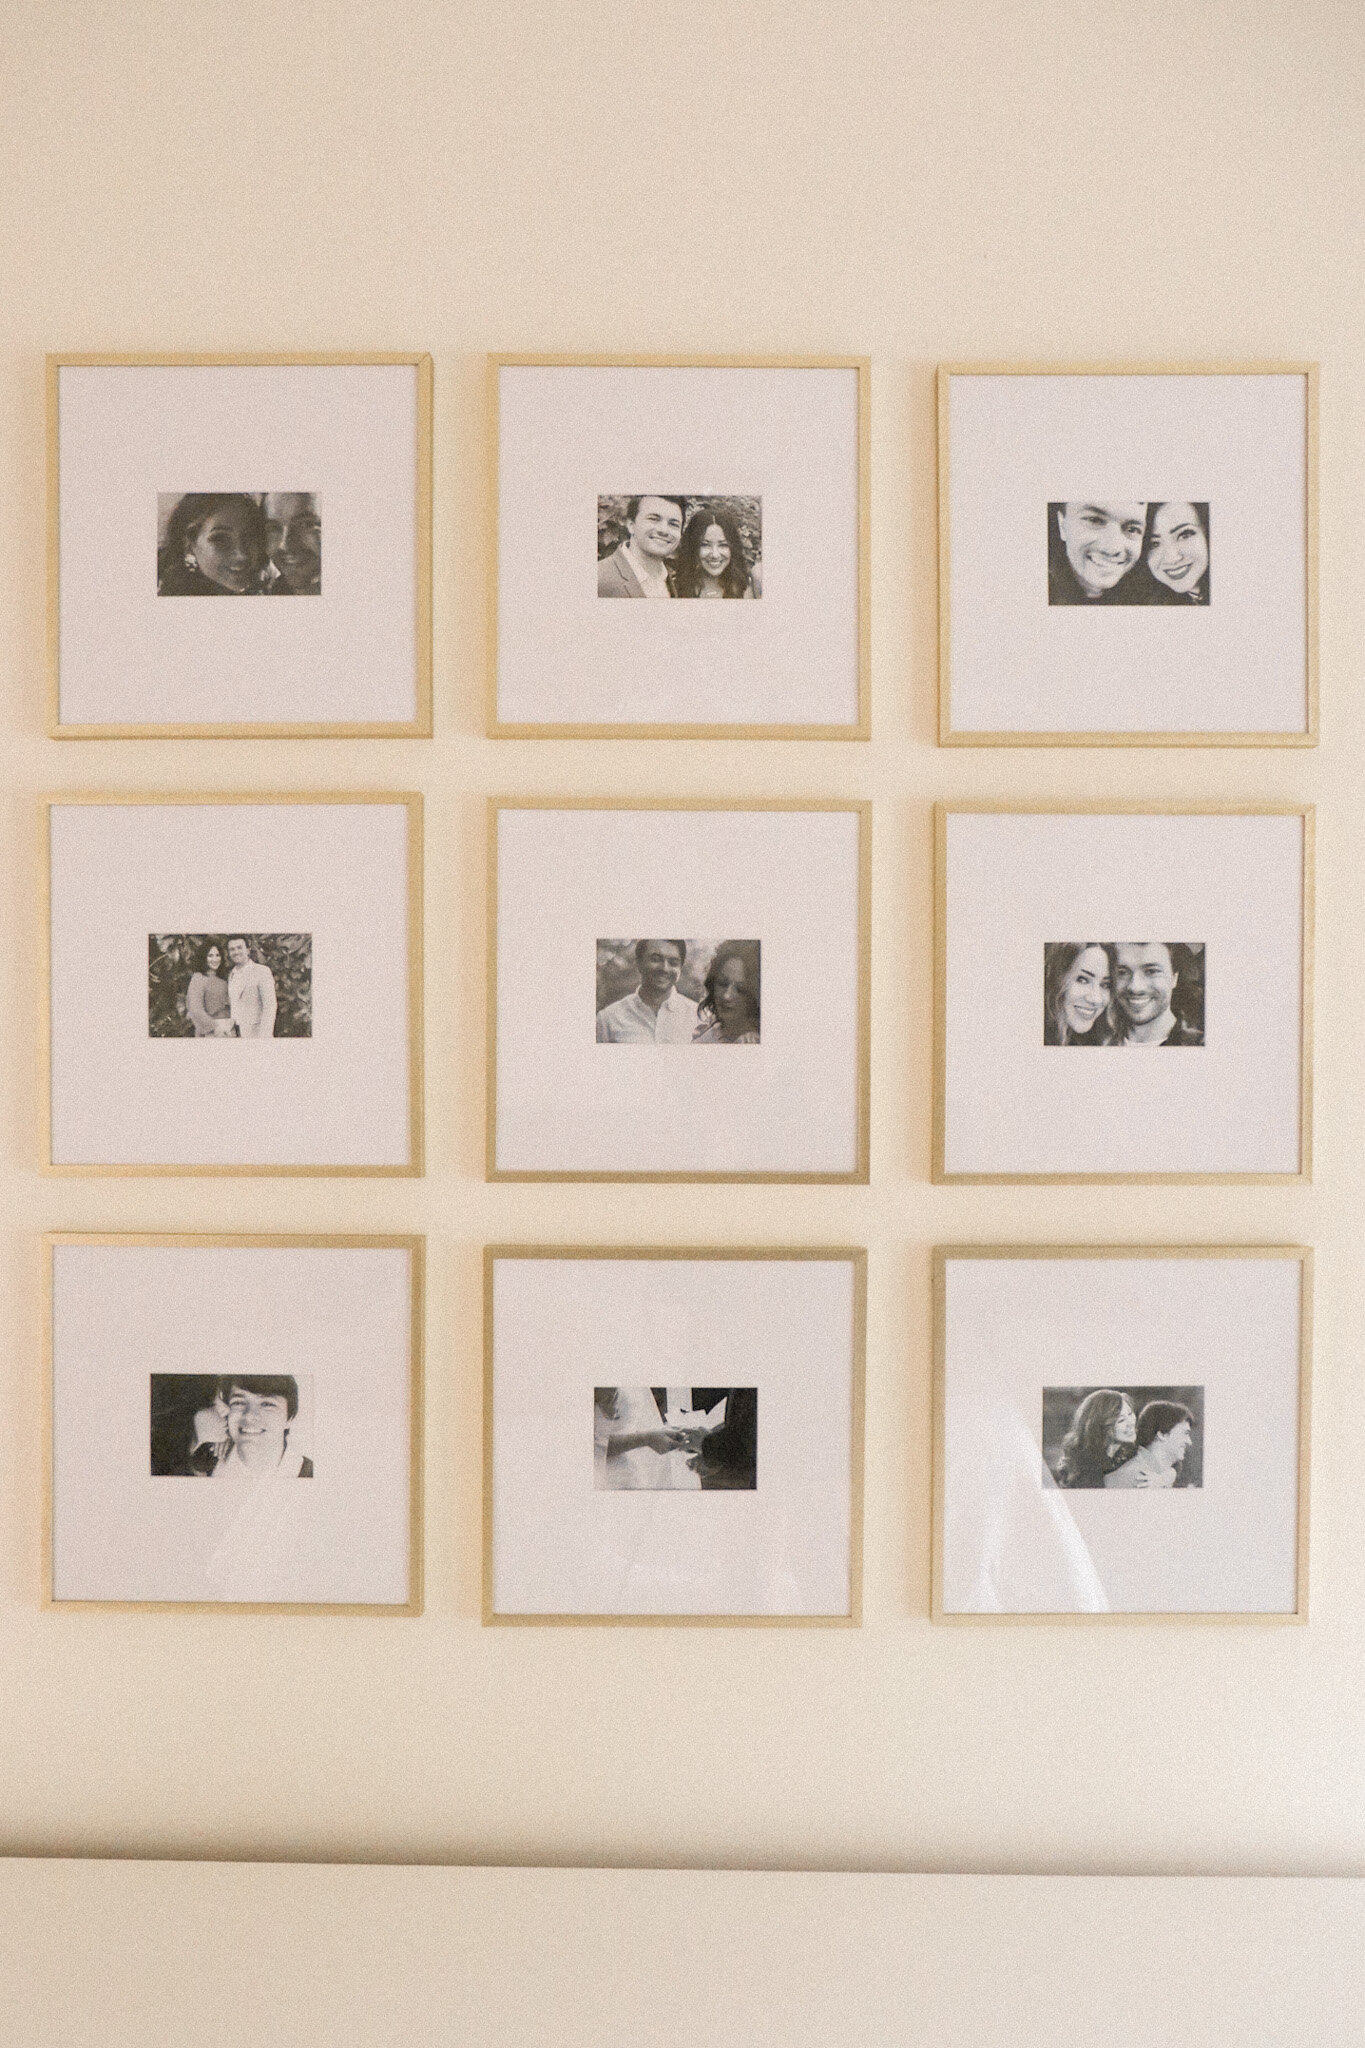
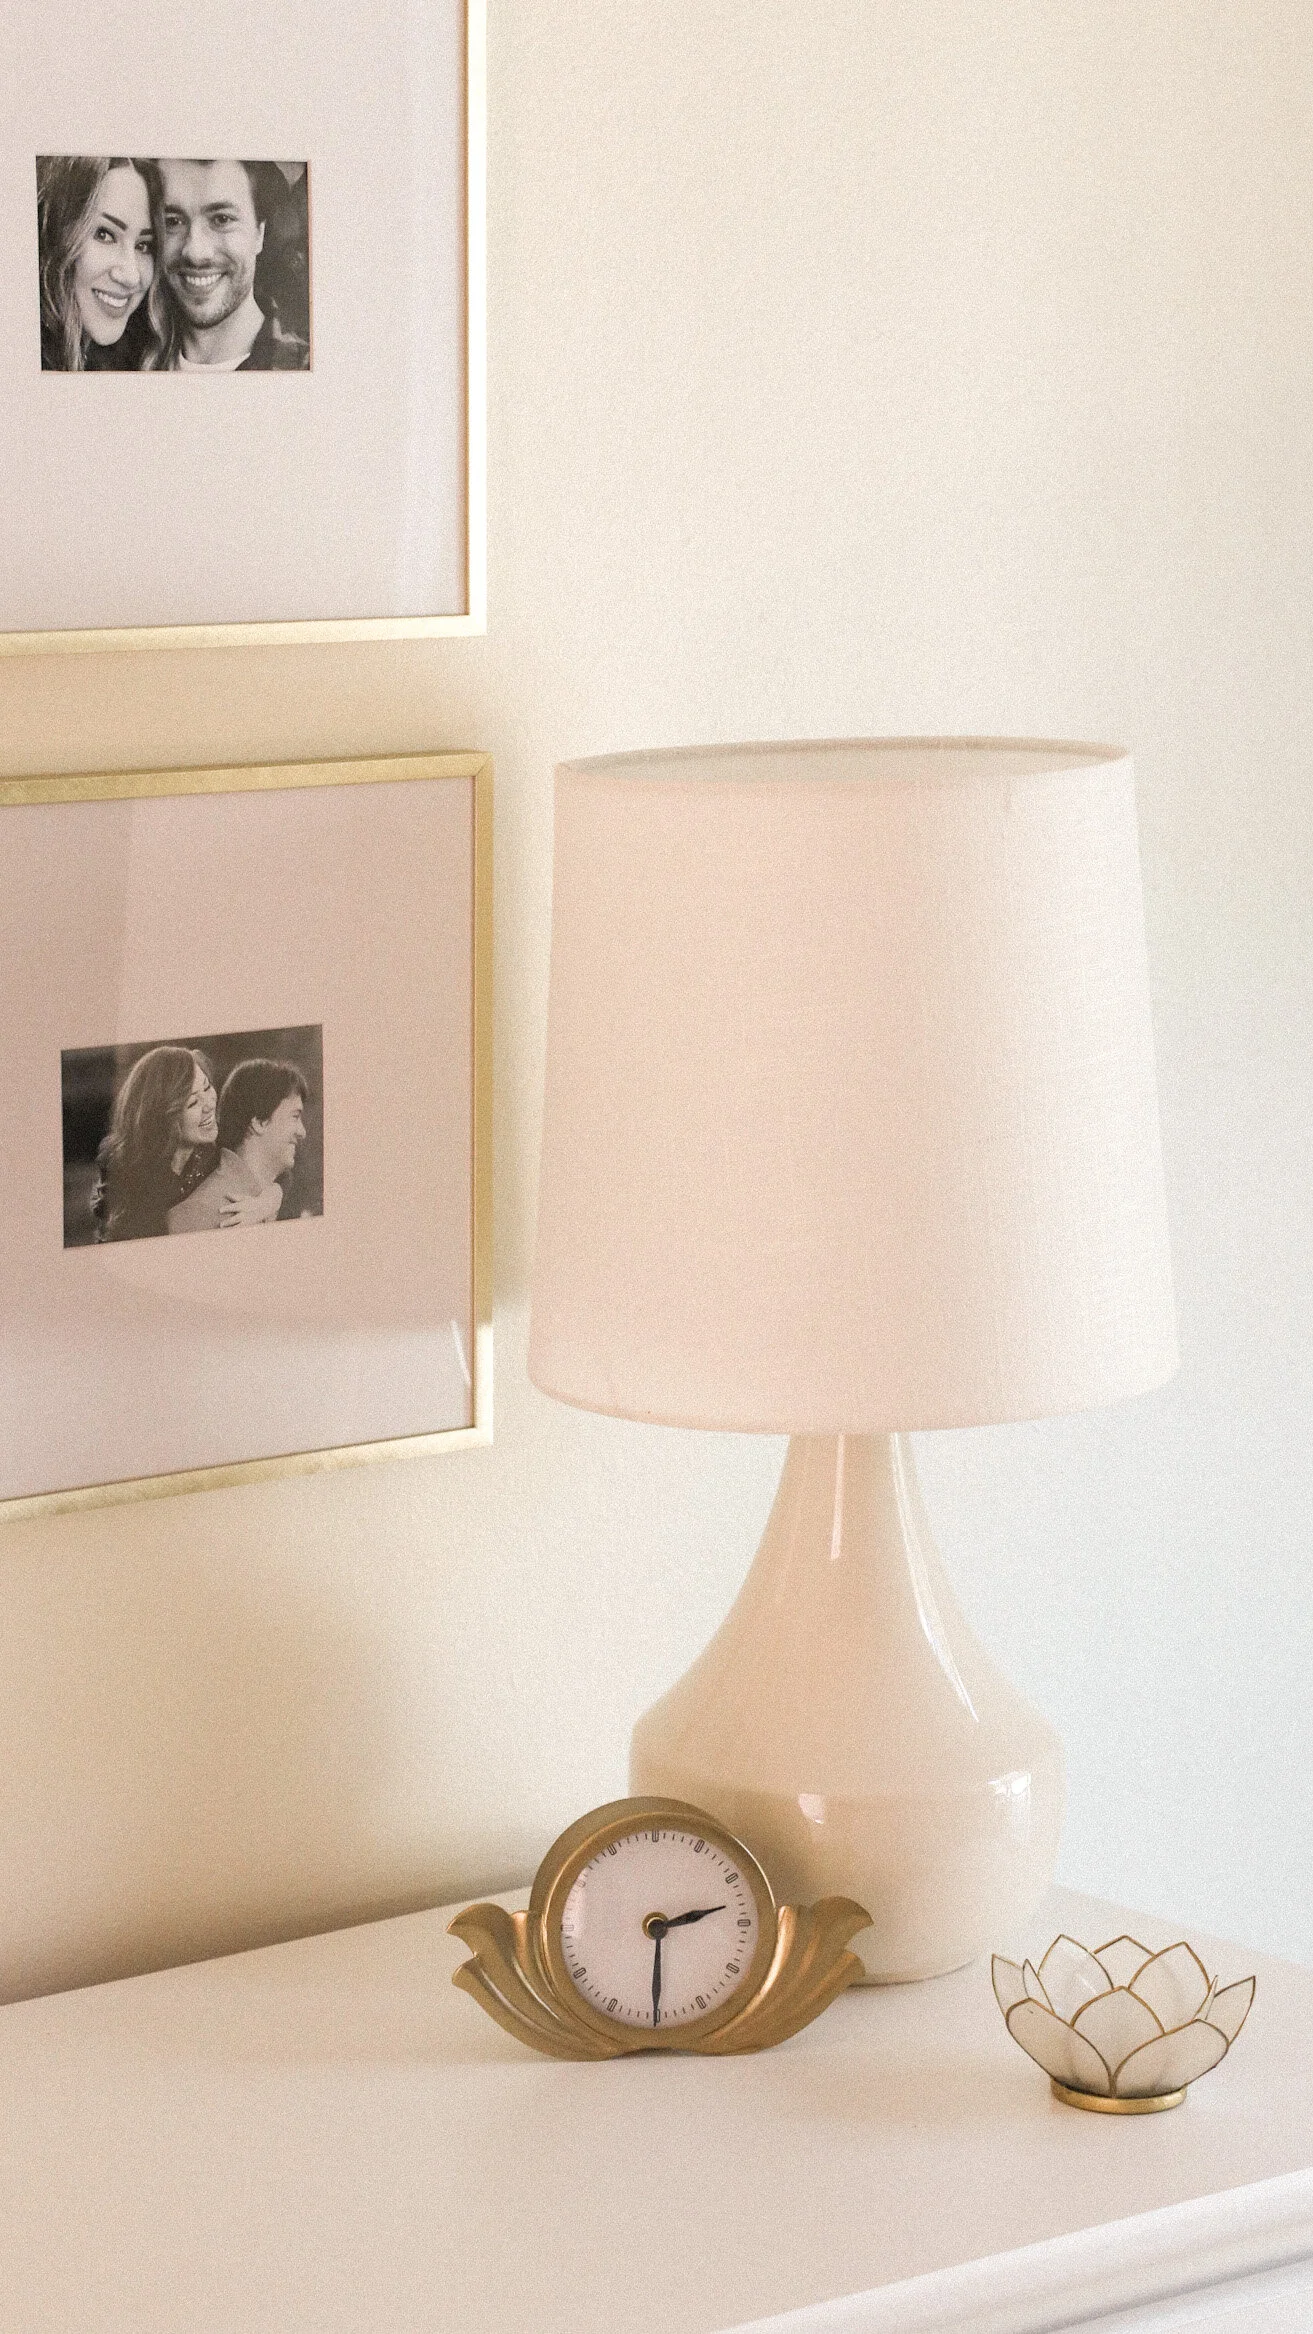
I looked on Pinterest & purchased these nine 12.5" x 12.5" Matted to 4" x 6" Brass Frames that I hung above our dresser in our master bedroom. I’m so happy with the way it looks & it's become one of my absolute favorite spaces in our home.
Here are my easy 10 steps & materials I used to hang my gallery wall:
MATERIALS
Picture Frames
Transparent Scotch Tape
Scissors
Nails
Hammer
Pencil
Measuring Tape
Tripod
Small Step Ladder
This blog post may contain affiliate links
Step 1. Layout crafting paper on a flat surface to trace your picture frame.
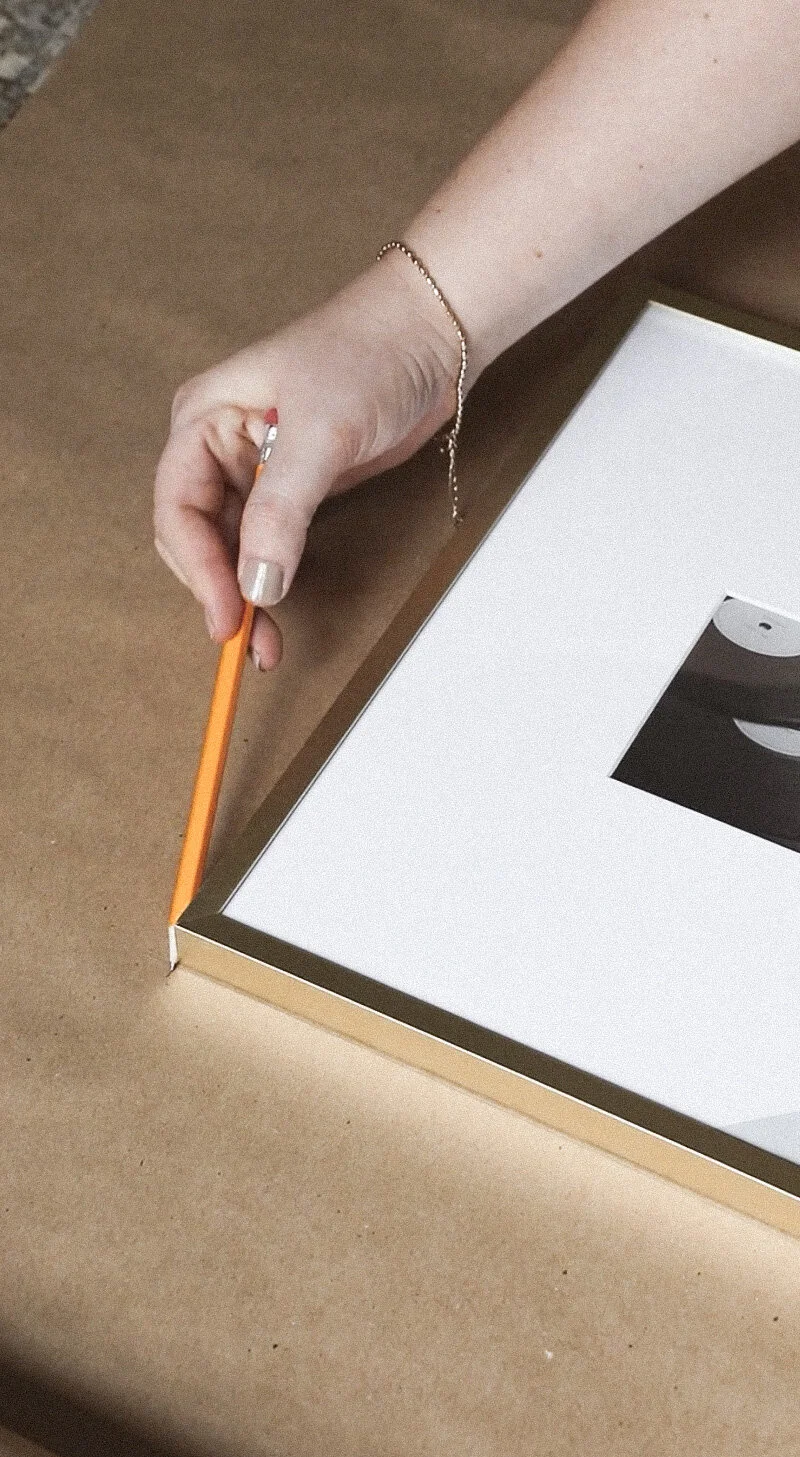
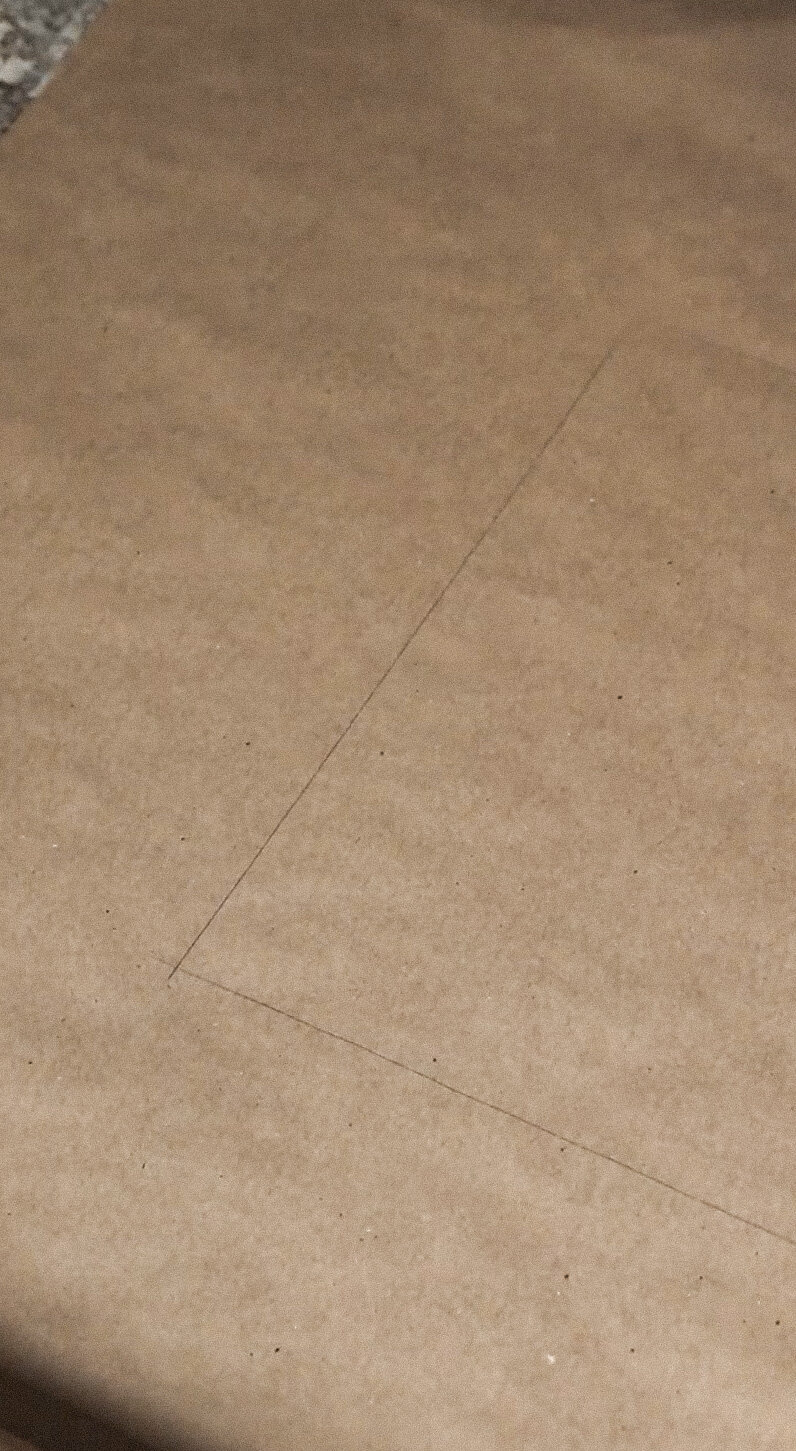
Step 2. Position the frame on edge of the crafting paper and trace the outline of the frame on the paper. Repeat this step for every frame you plan on using.
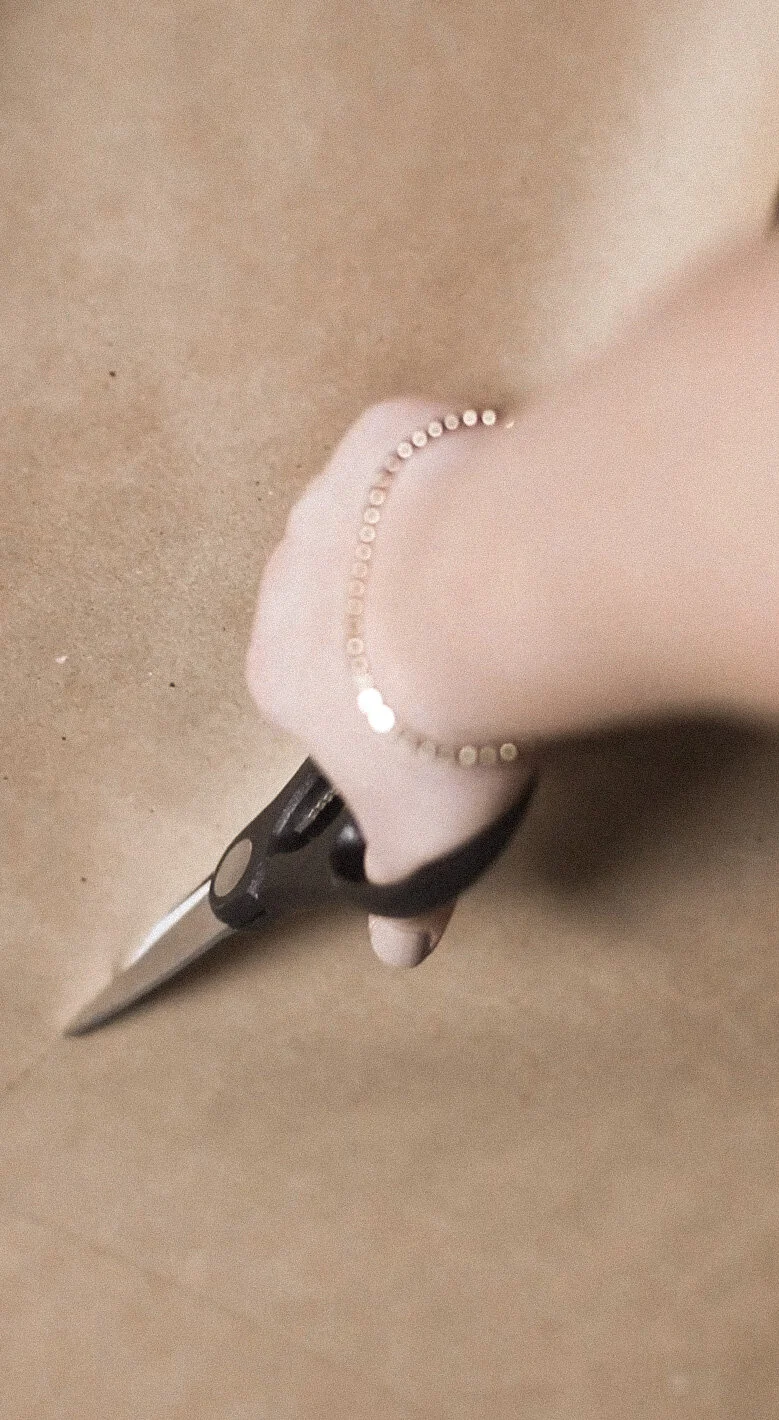
Step 3. Cut out paper templates.
I suggest placing something heavy like a large book to flatten the Kraft paper out as it comes in a roll and may try to curl. You want the paper template as flat as possible for when you hang them on your wall to map out the dimensions.
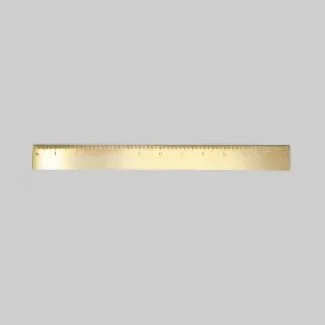
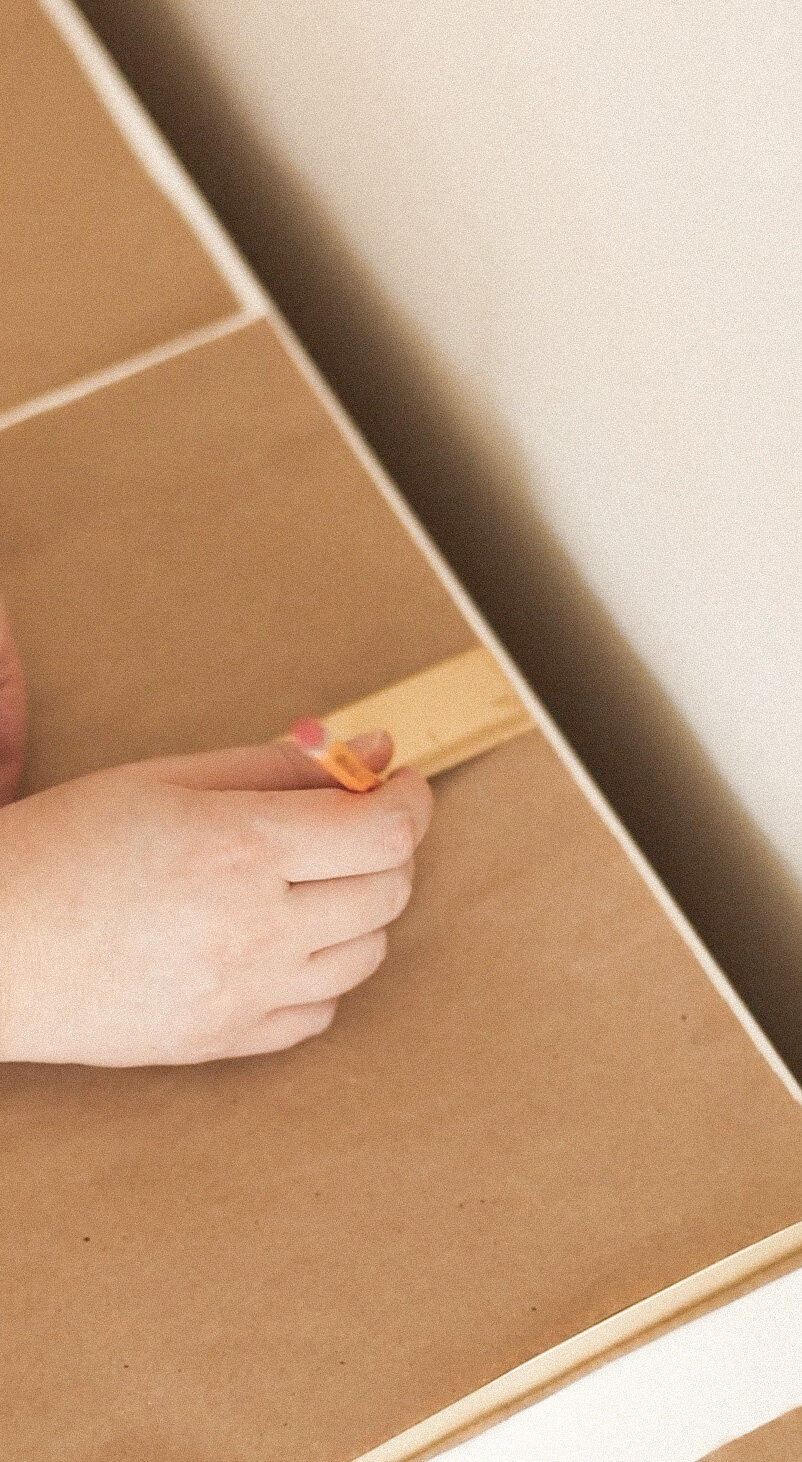
Step 4. Measure with a ruler where the nail will hang on the back of the frame and mark it with your pencil.
My frames had a Sawtooth Hanger on the back so I poked a hole in the first template and marked the one beneath so it was exactly the same placement.
Step 5. Measure the center of your wall and make a mark with your pencil. This will be the first template you hang in your gallery wall.
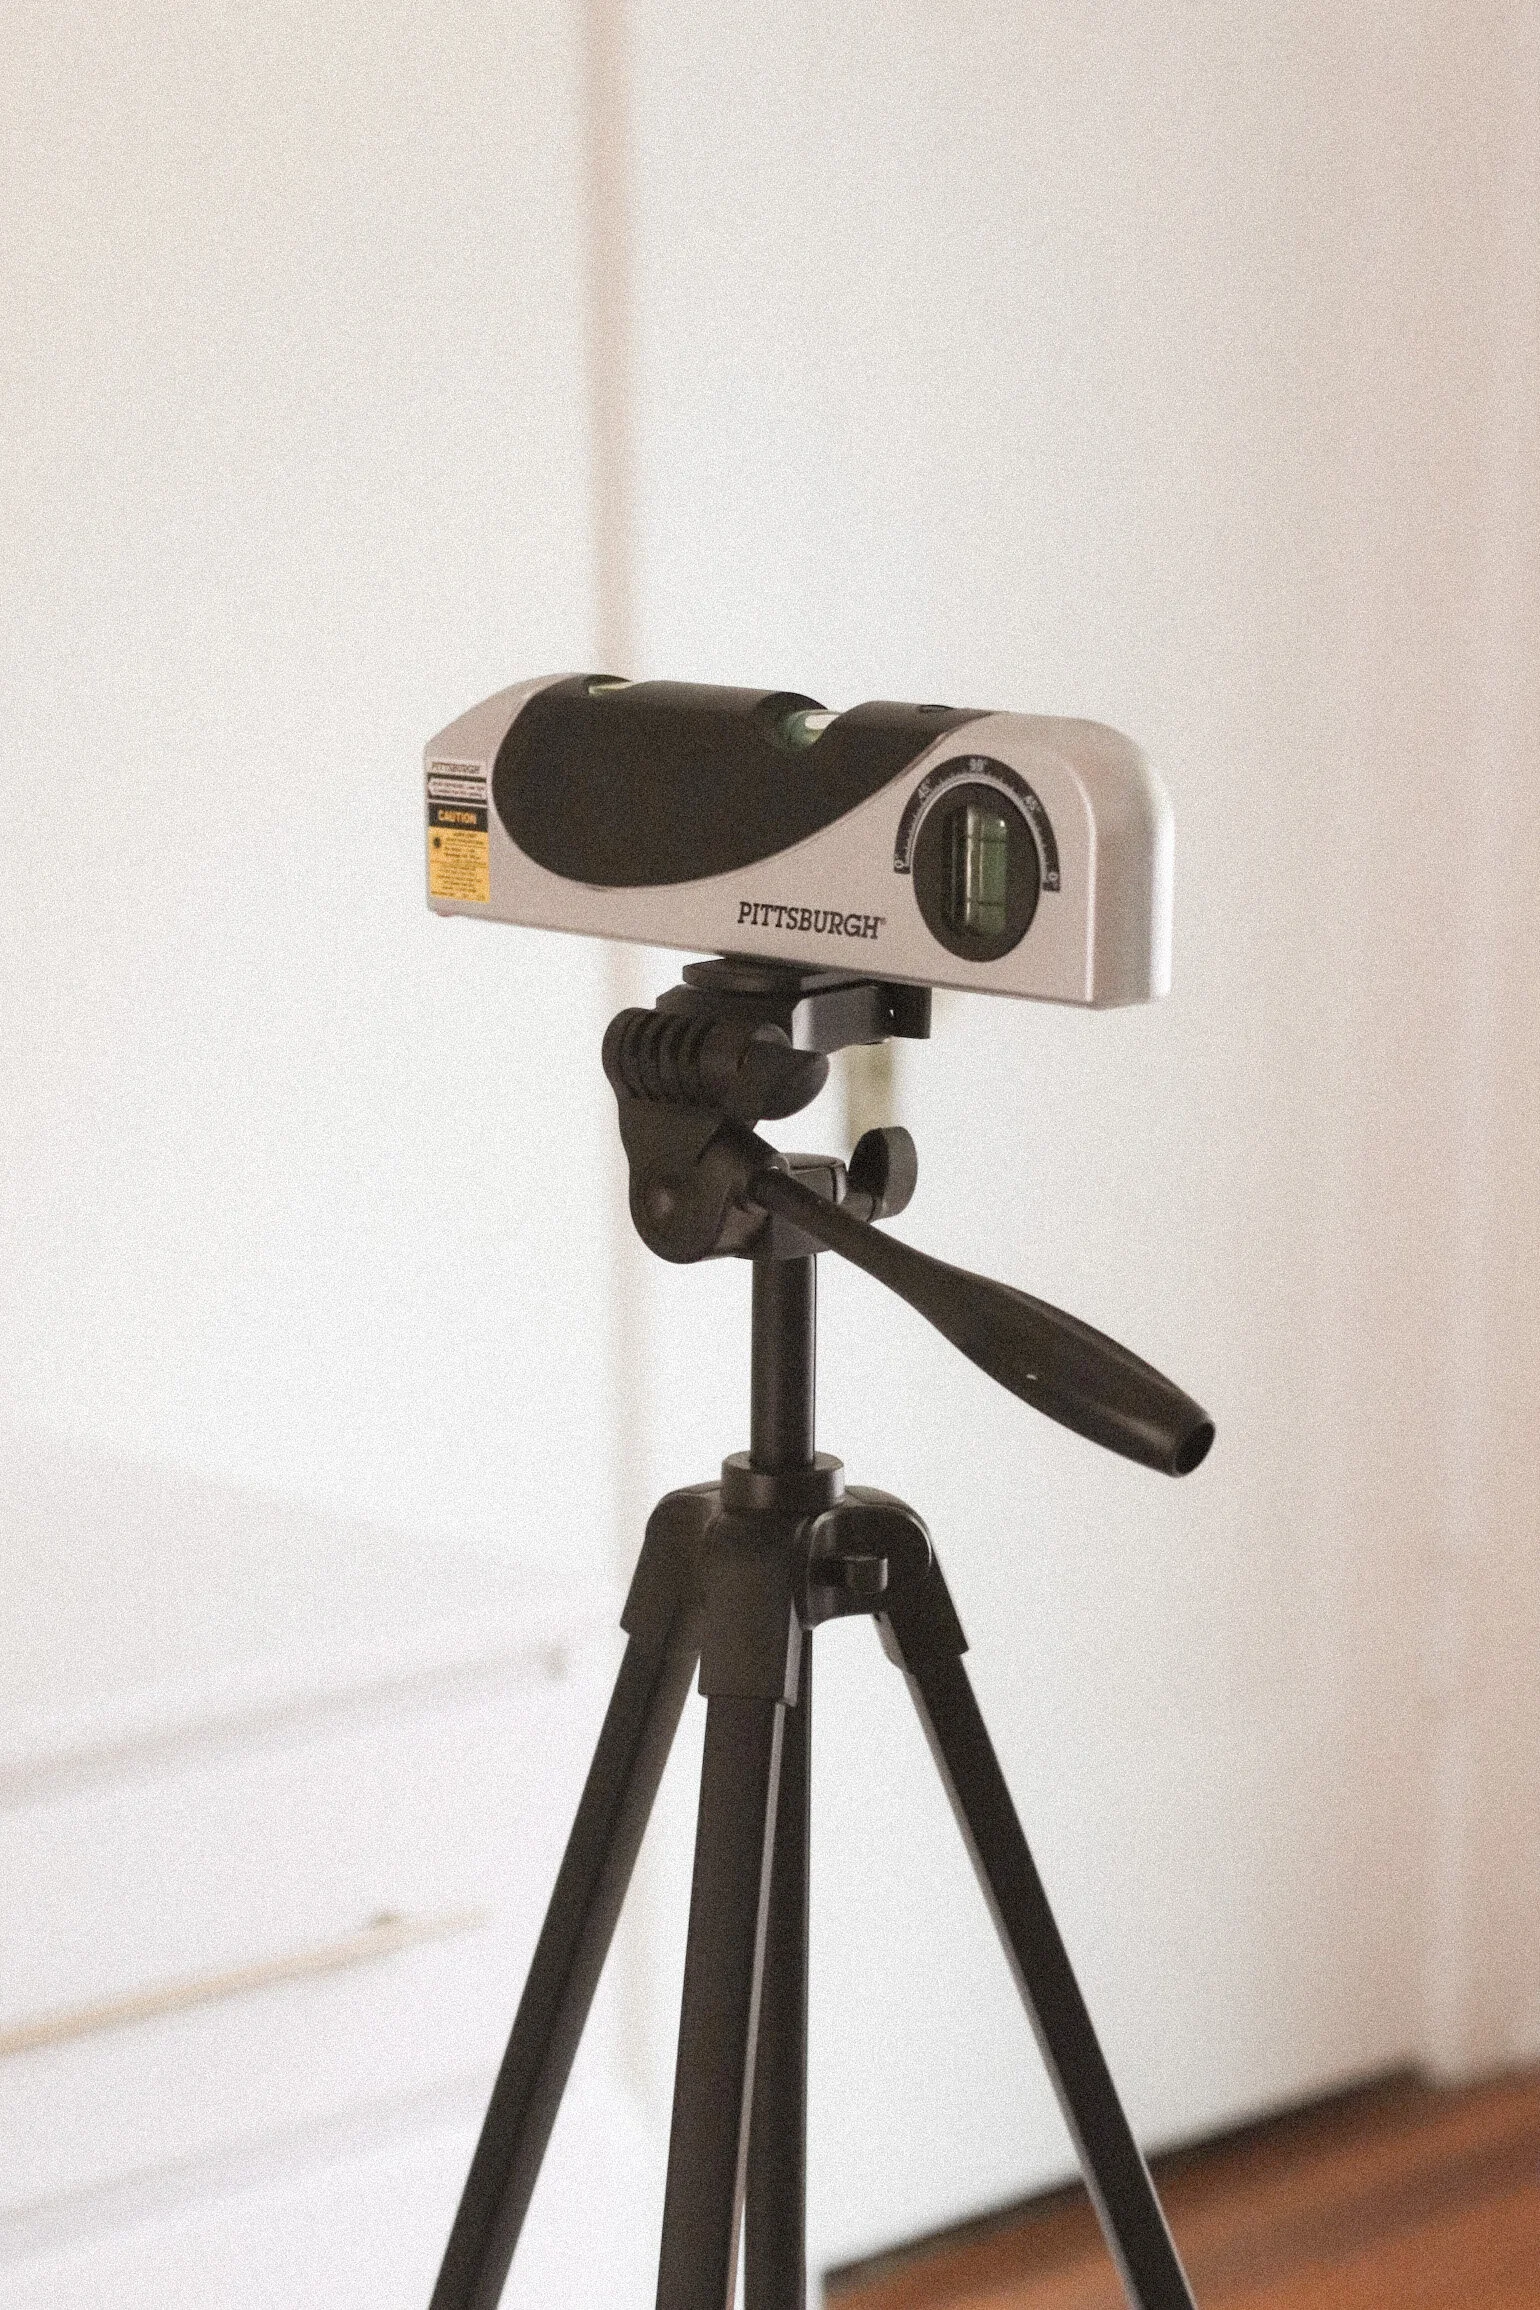
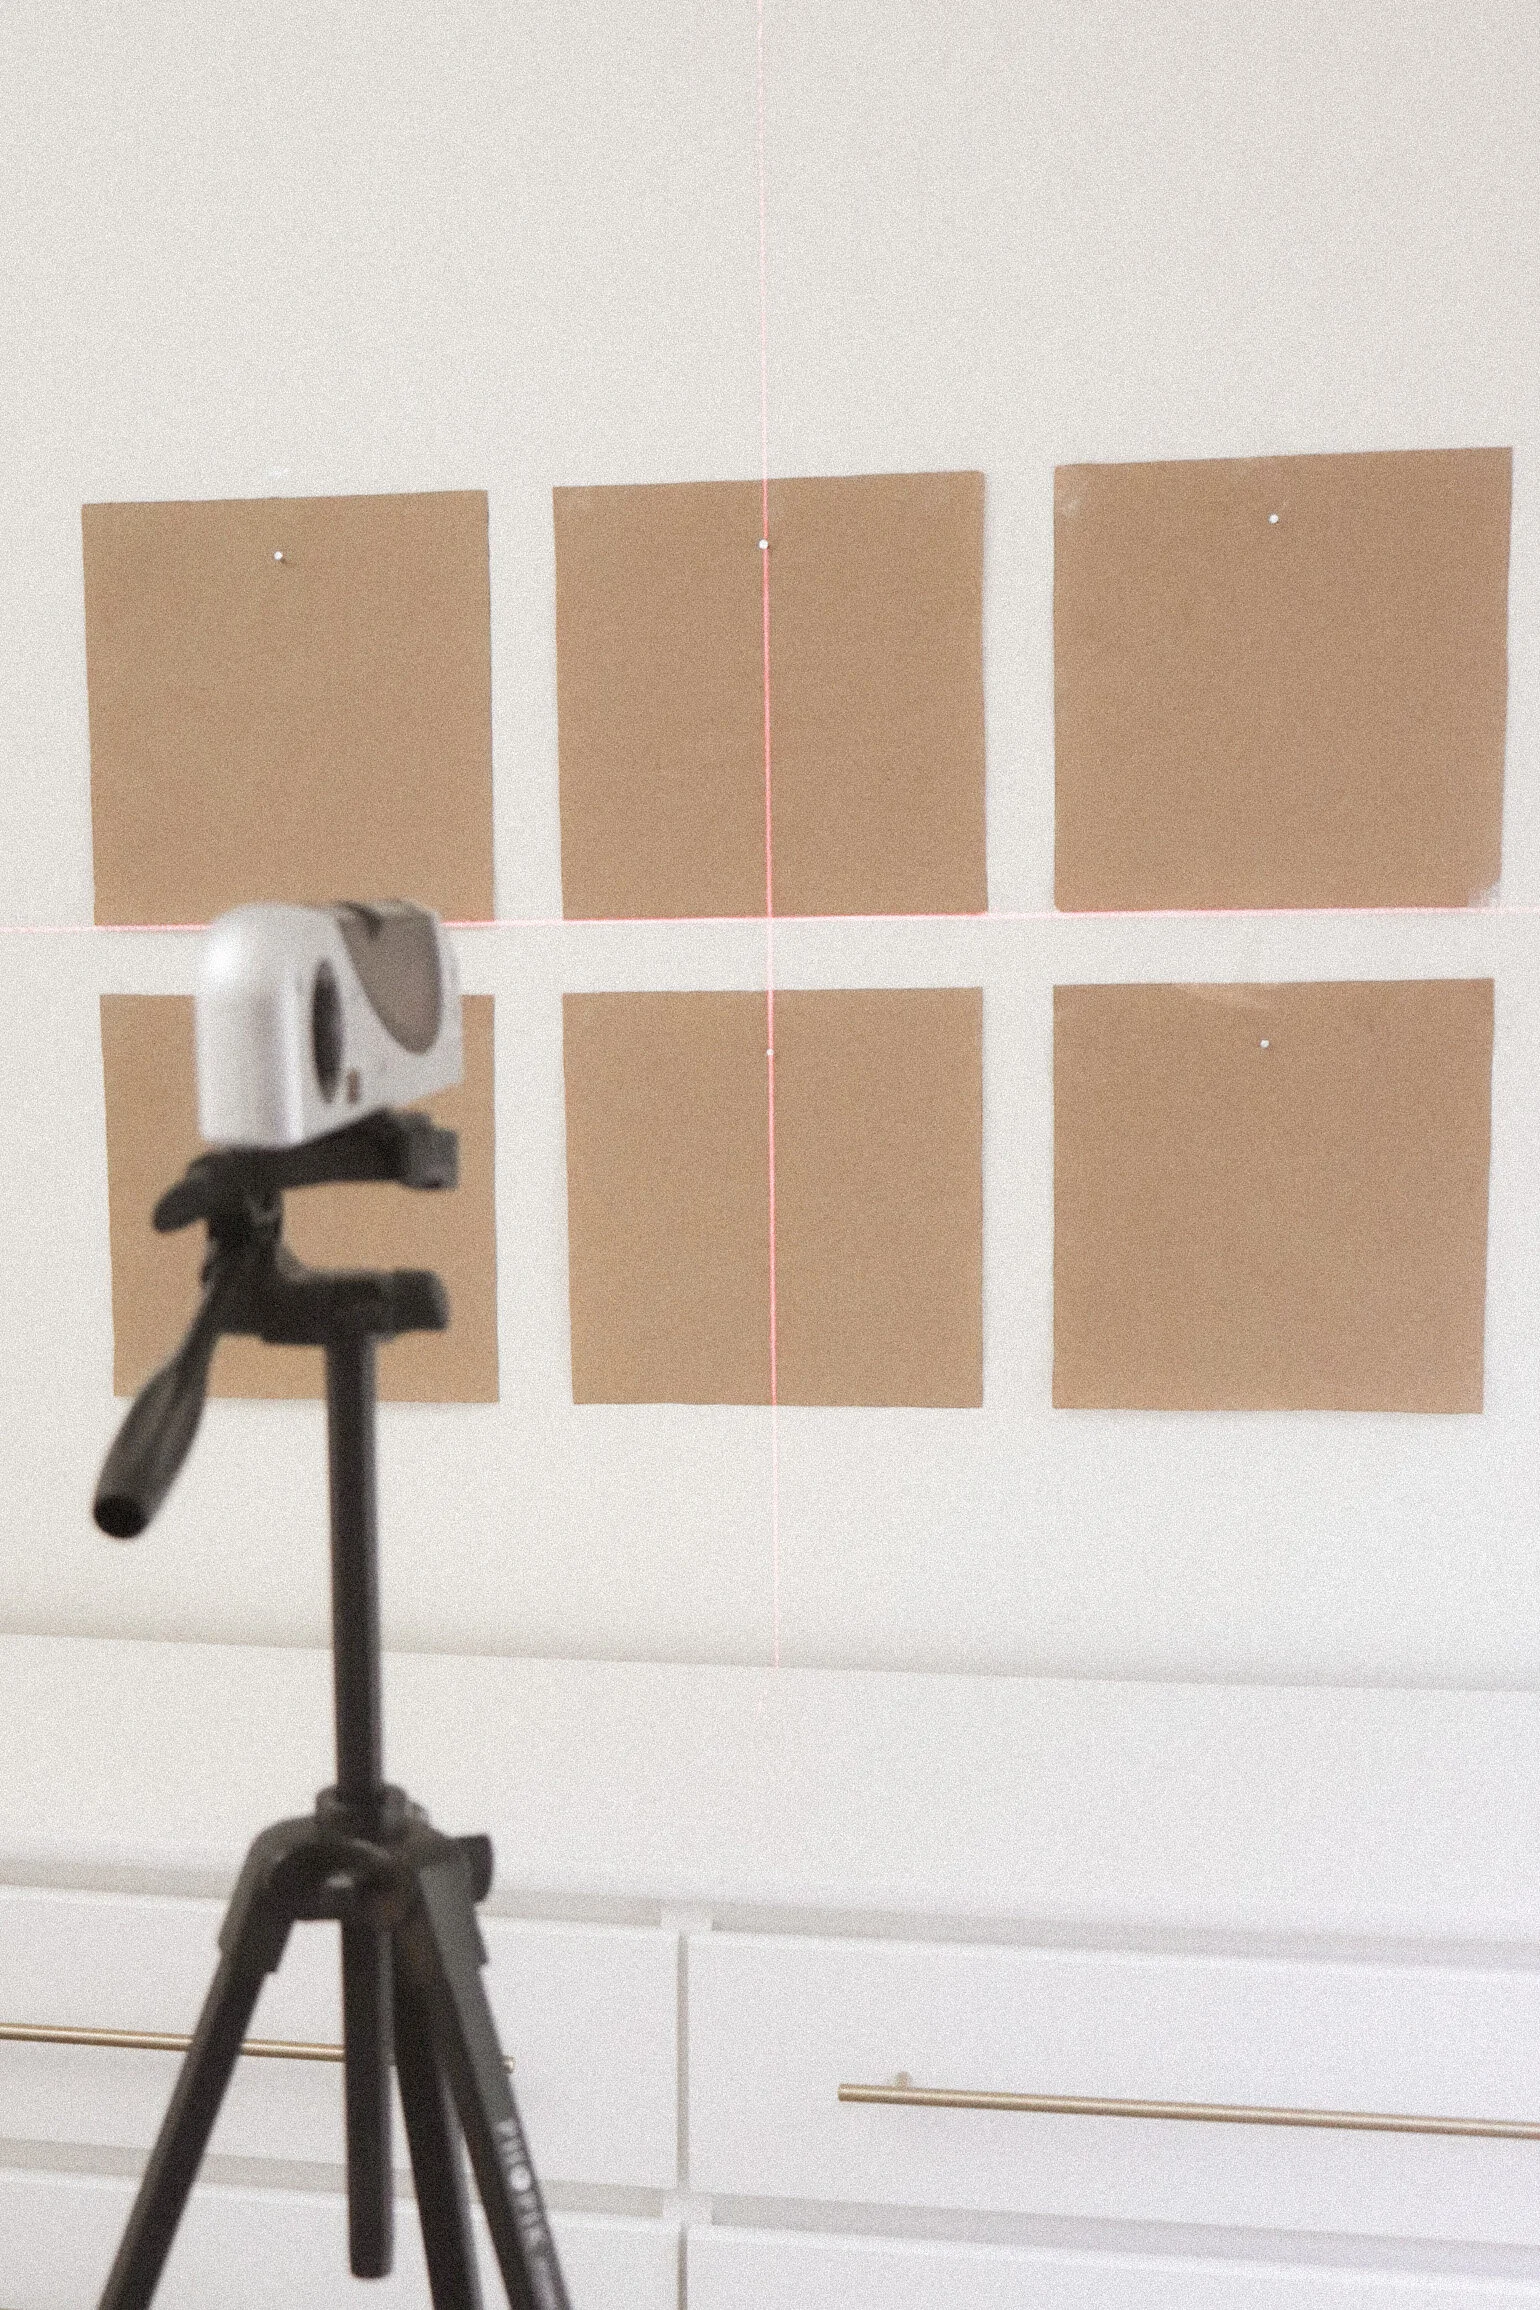
Step 5. Use a leveler to ensure your gallery wall is straight.
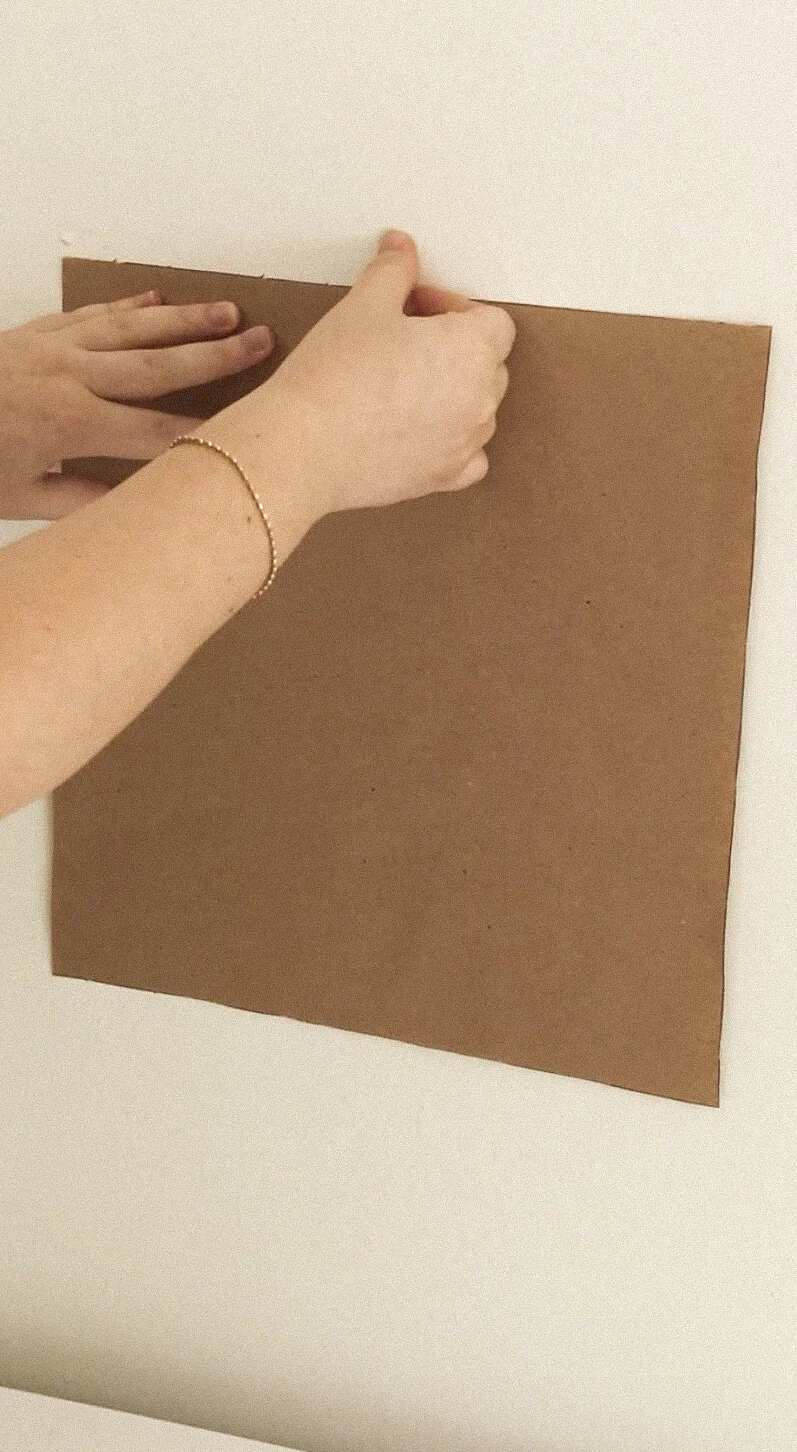
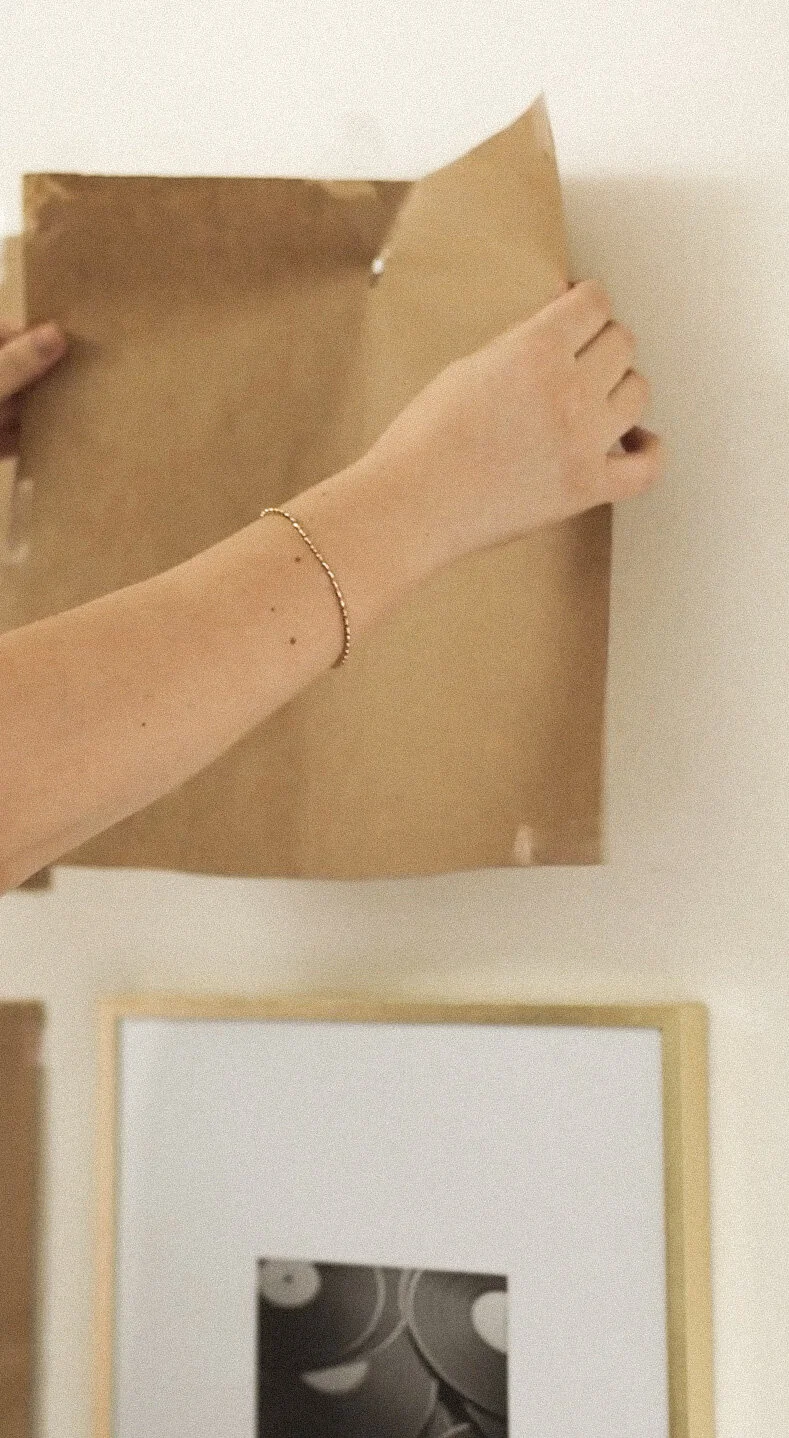
Step 6. Grab a second template & measure how far apart you want it from the template in the center. I measured 2 inches around my template frame.
Repeat this step for the top & bottom row by aligning them above & below. I made pencil marks to ensure it was aligned. You may need the step ladder depending on how high you want your frames. Use the Clear Scotch Tape or Painter's Tape to hold your template on the wall.
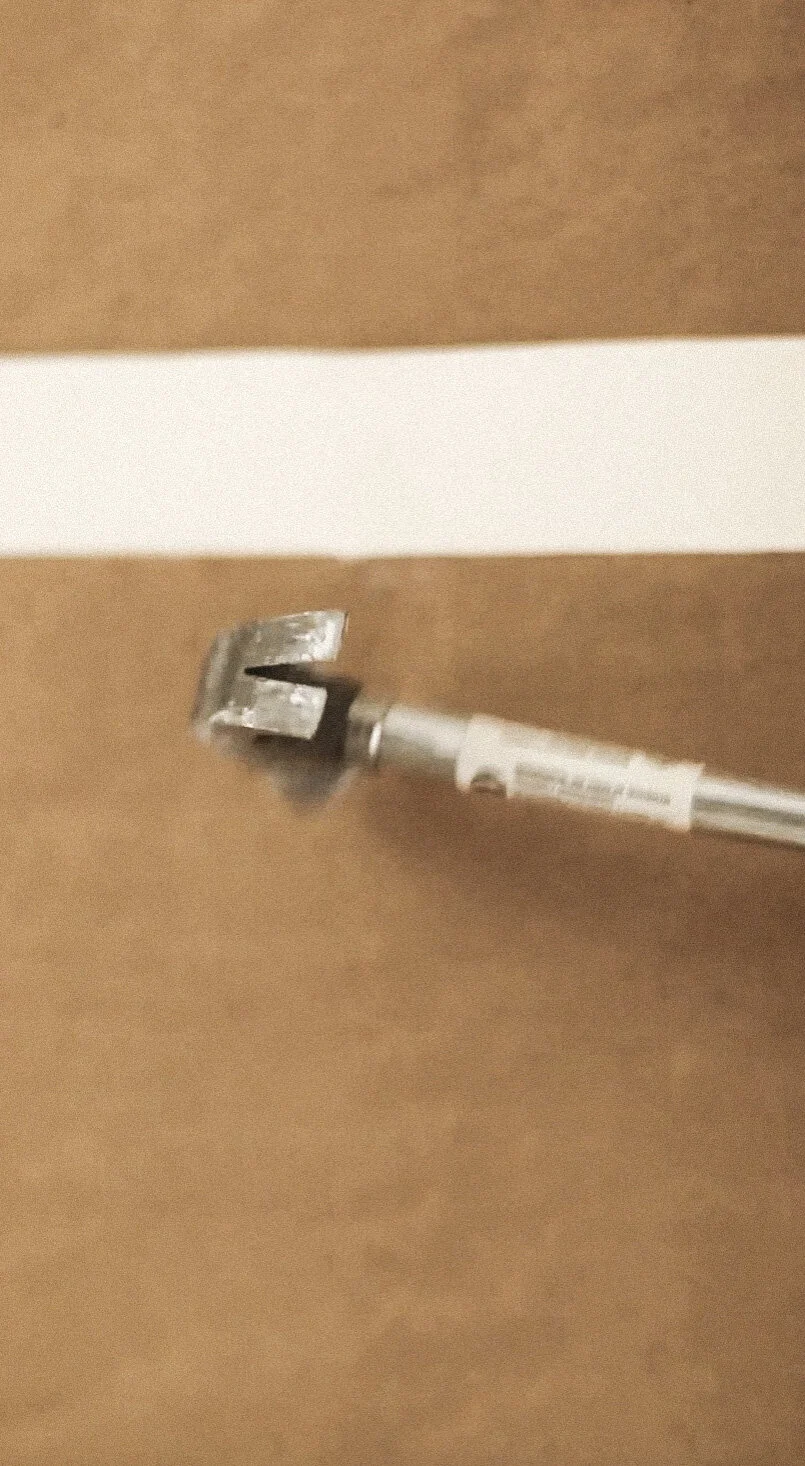
Step 7. Once all your templates are in place, hammer a nail in the center of each template where you will hang the nail.
Step 8. Remove the template and recycle them if you wish to do this project with the same size frames in another room.
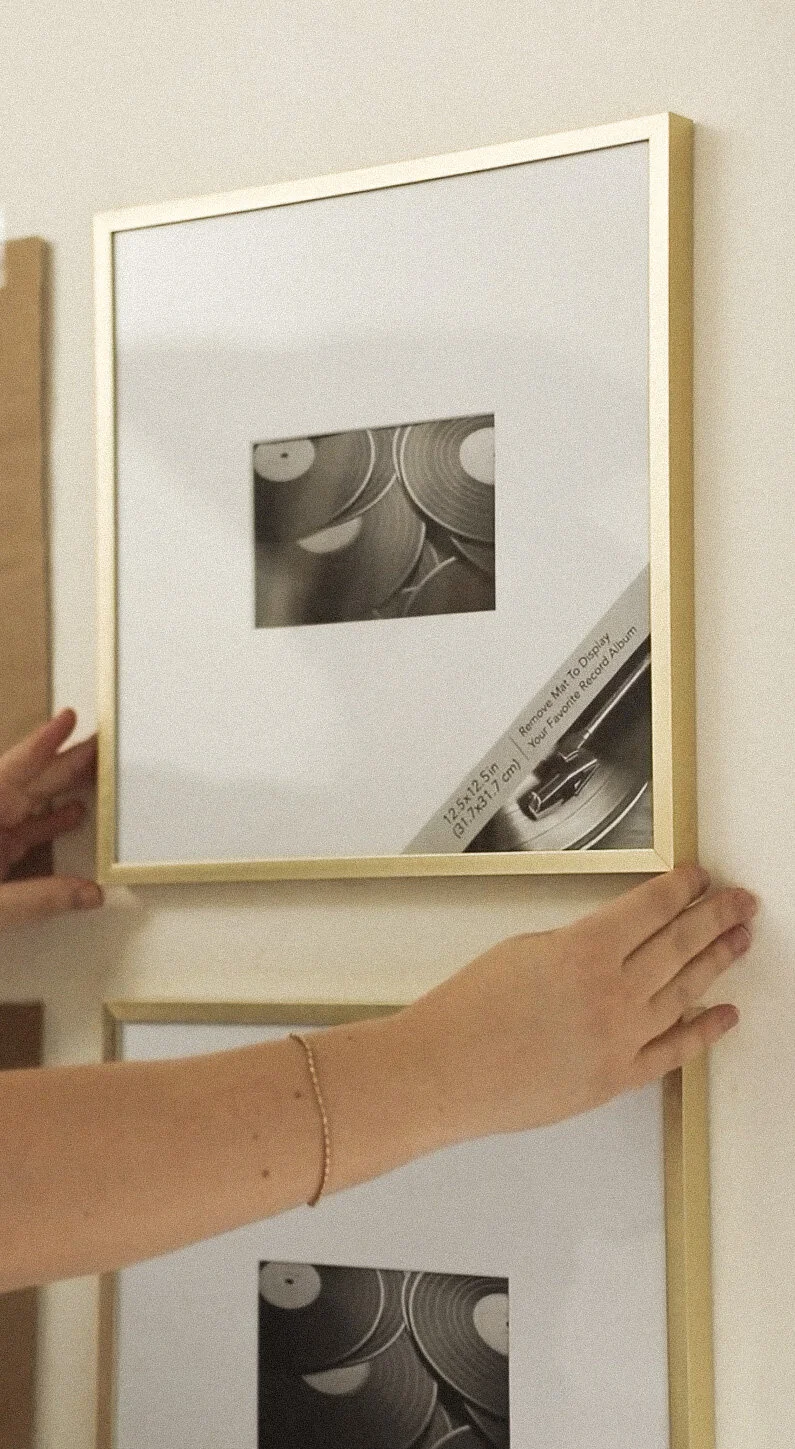
Step 9. Put your frame on the wall to make sure your frame is straight. Continue removing templates and adding your frames onto the wall.
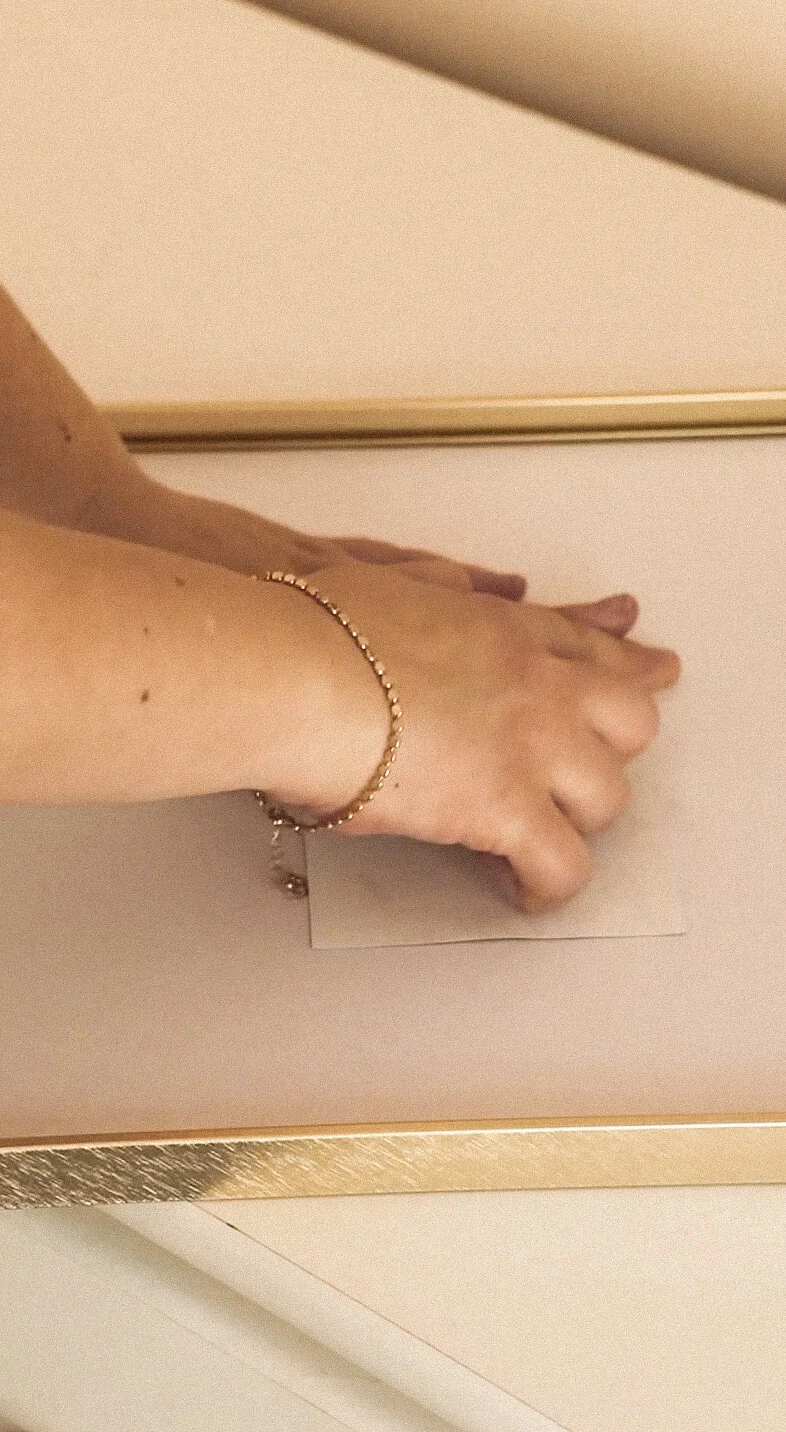
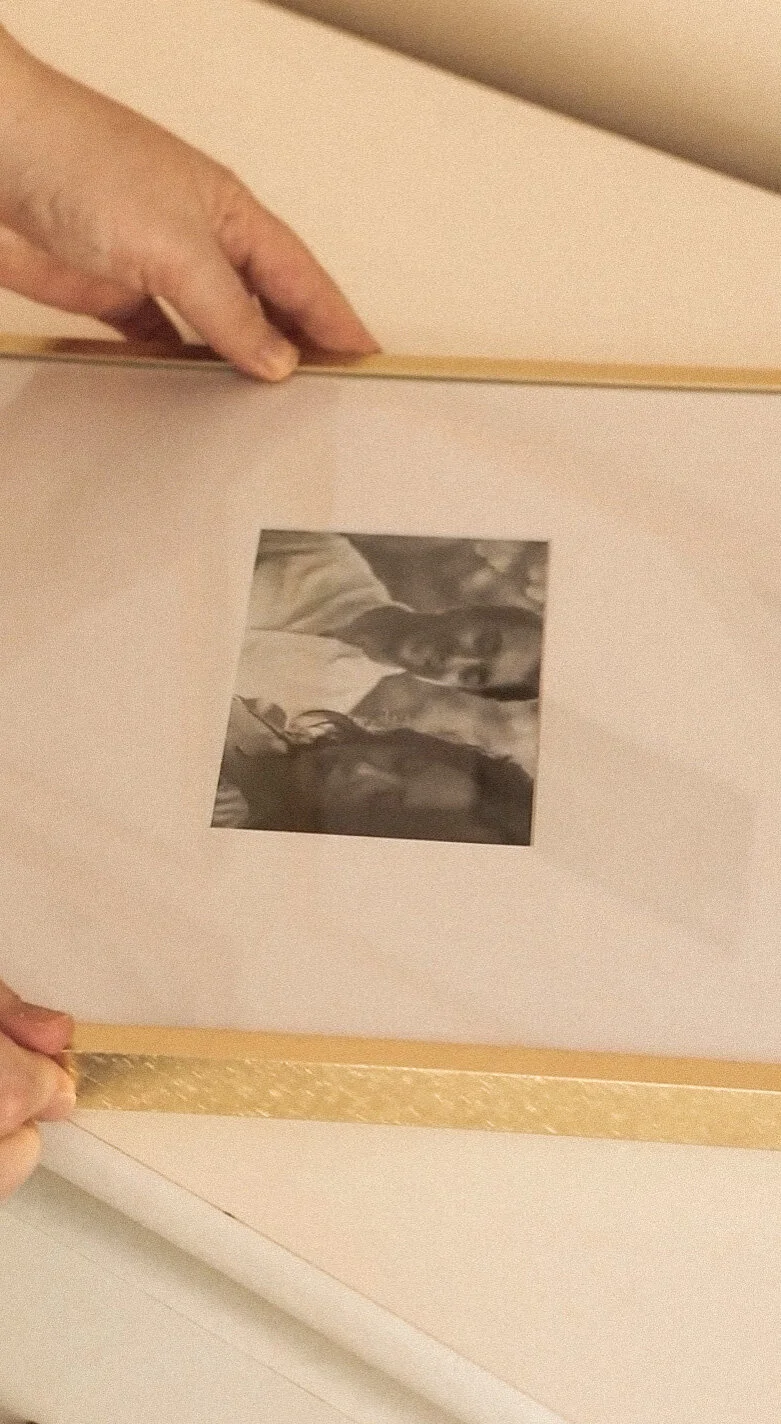
Step 10. Add your favorite photos & step back to admire your beautiful gallery wall!
I recommend putting pictures in the frames before working on the gallery wall but mine weren’t ready to be picked up from printing when I started this project & added them after hanging my frames.
Some of the happiest memories on our gallery wall are from our wedding day, spending a romantic weekend in San Miguel de Allende or traveling to see family in CDMX for Christmas when we lived in Mexico for 8 months.
What pictures would you Hang on your gallery wall?
Let me know in the comments or send me a DM on Instagram! I’d love to see what you’ve created in your home.


