DIY Floating Witch Hats
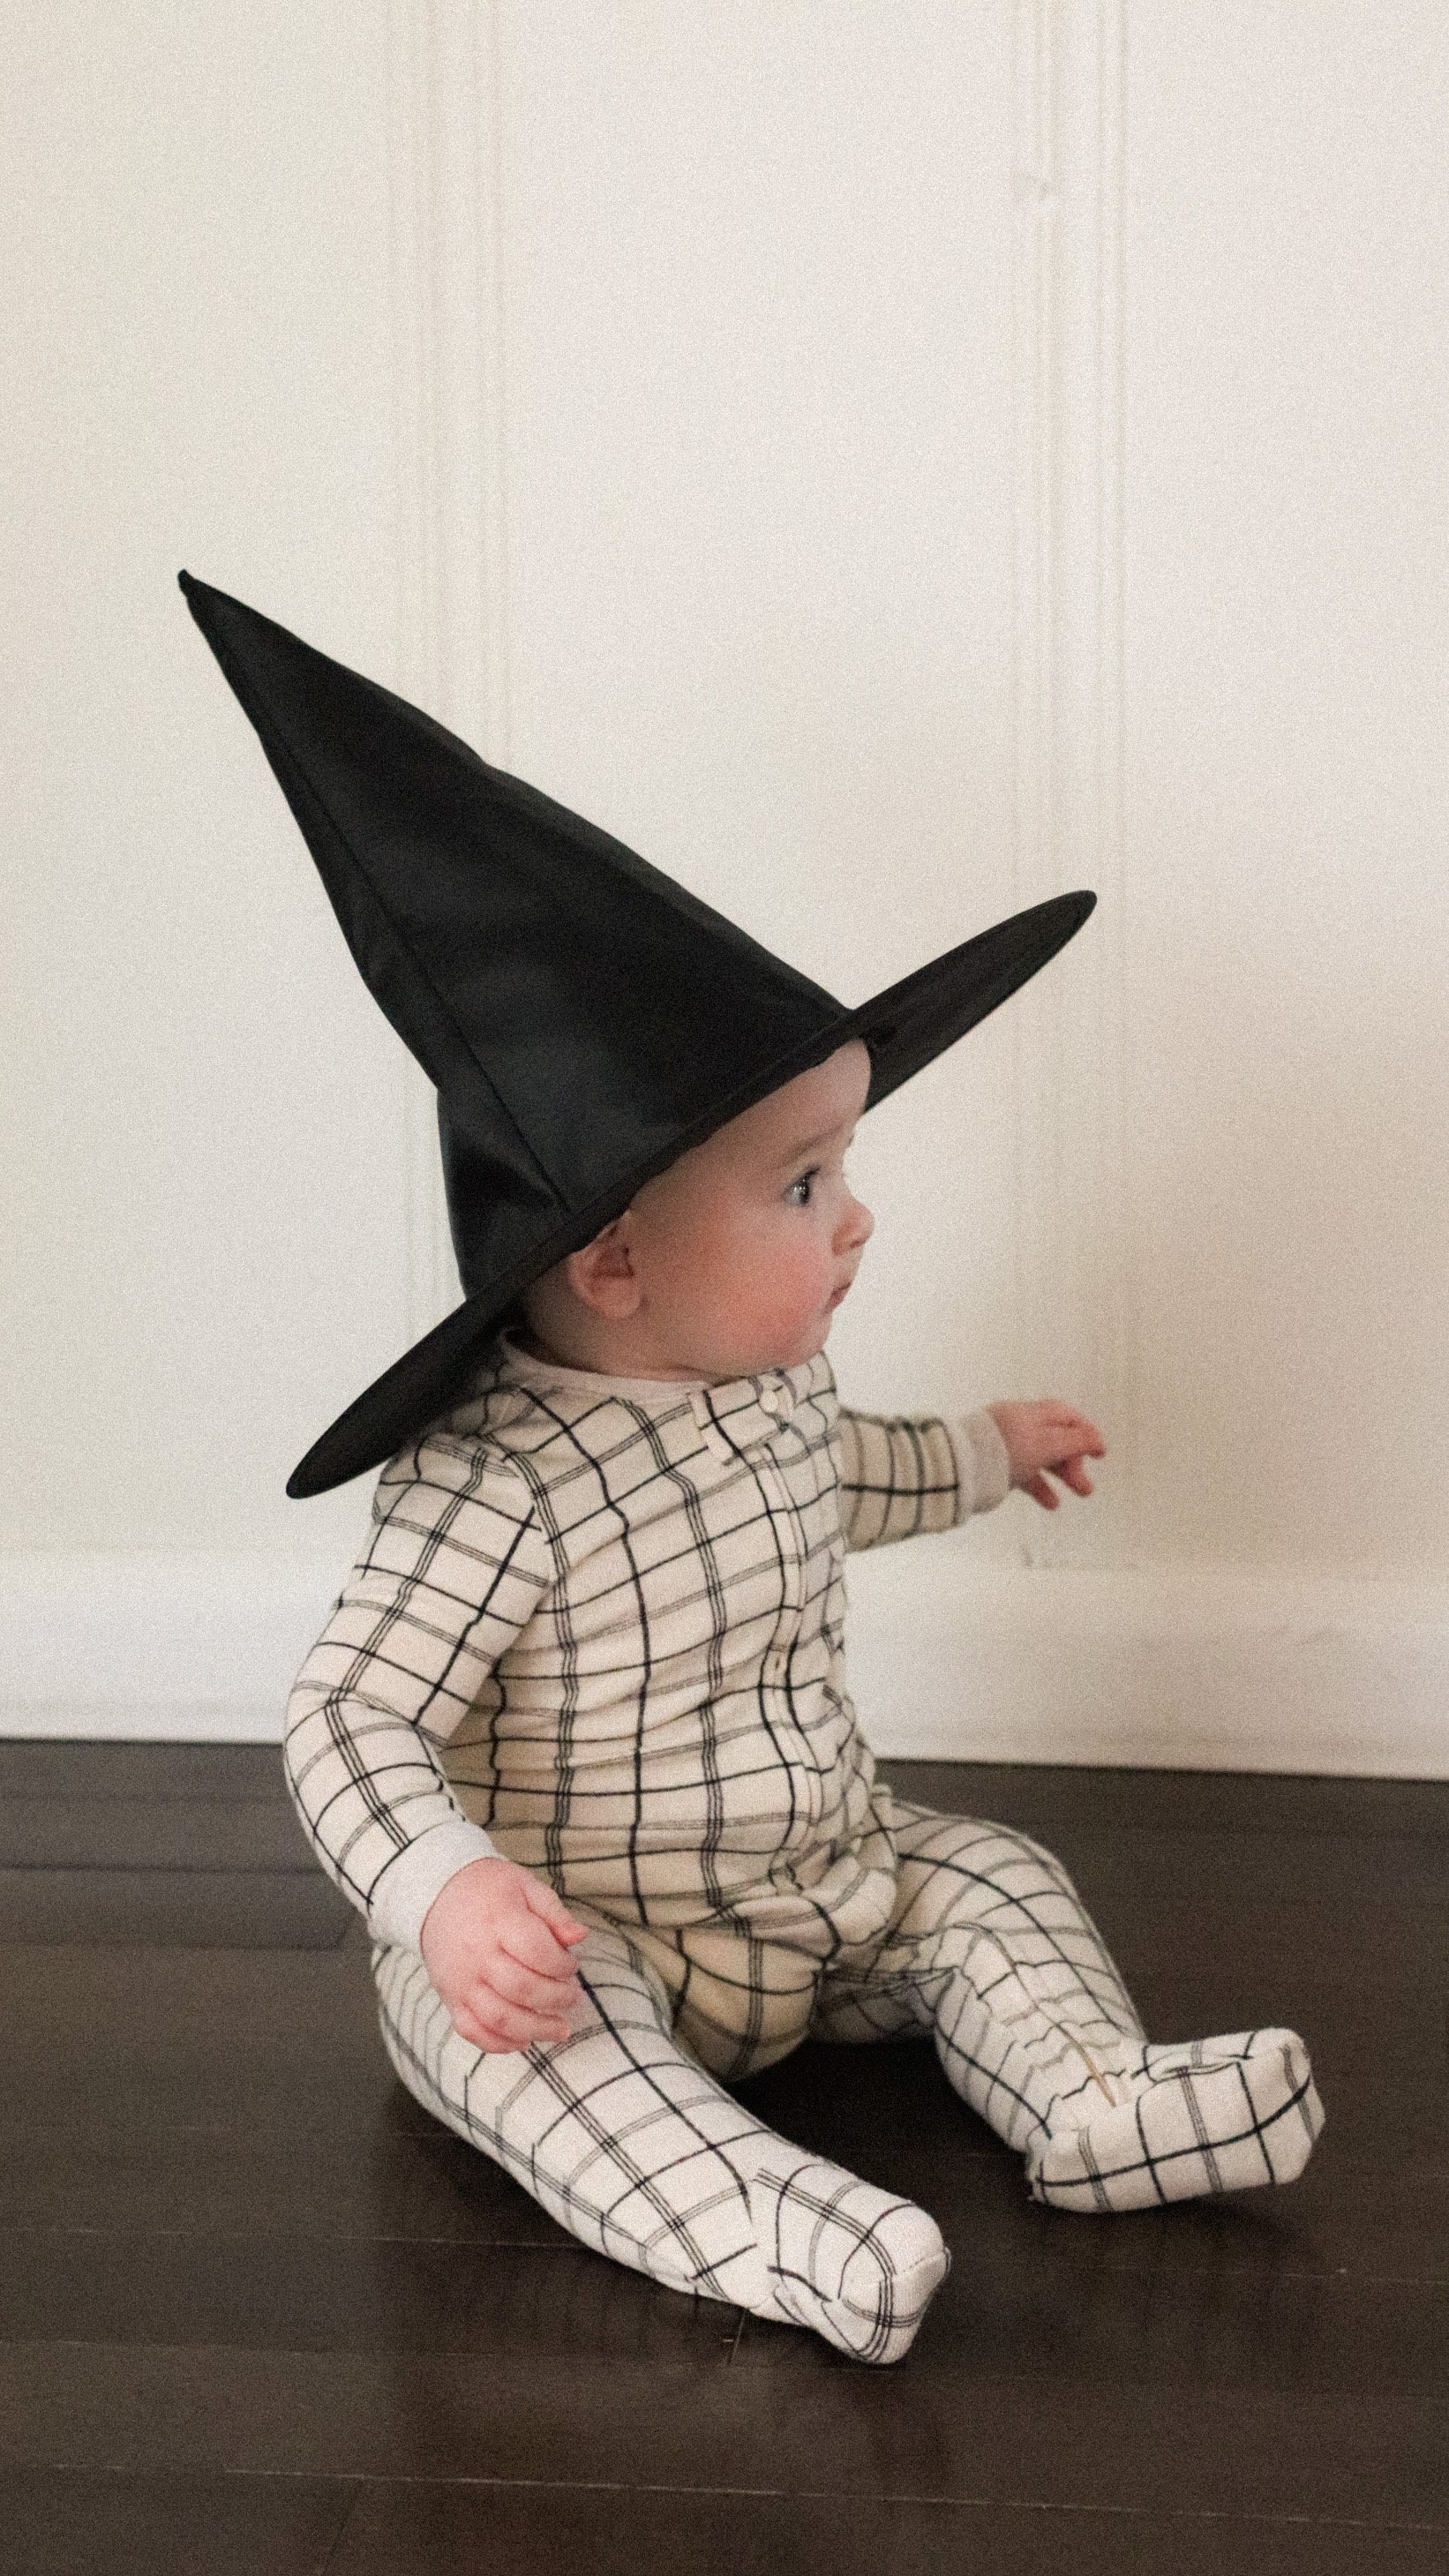
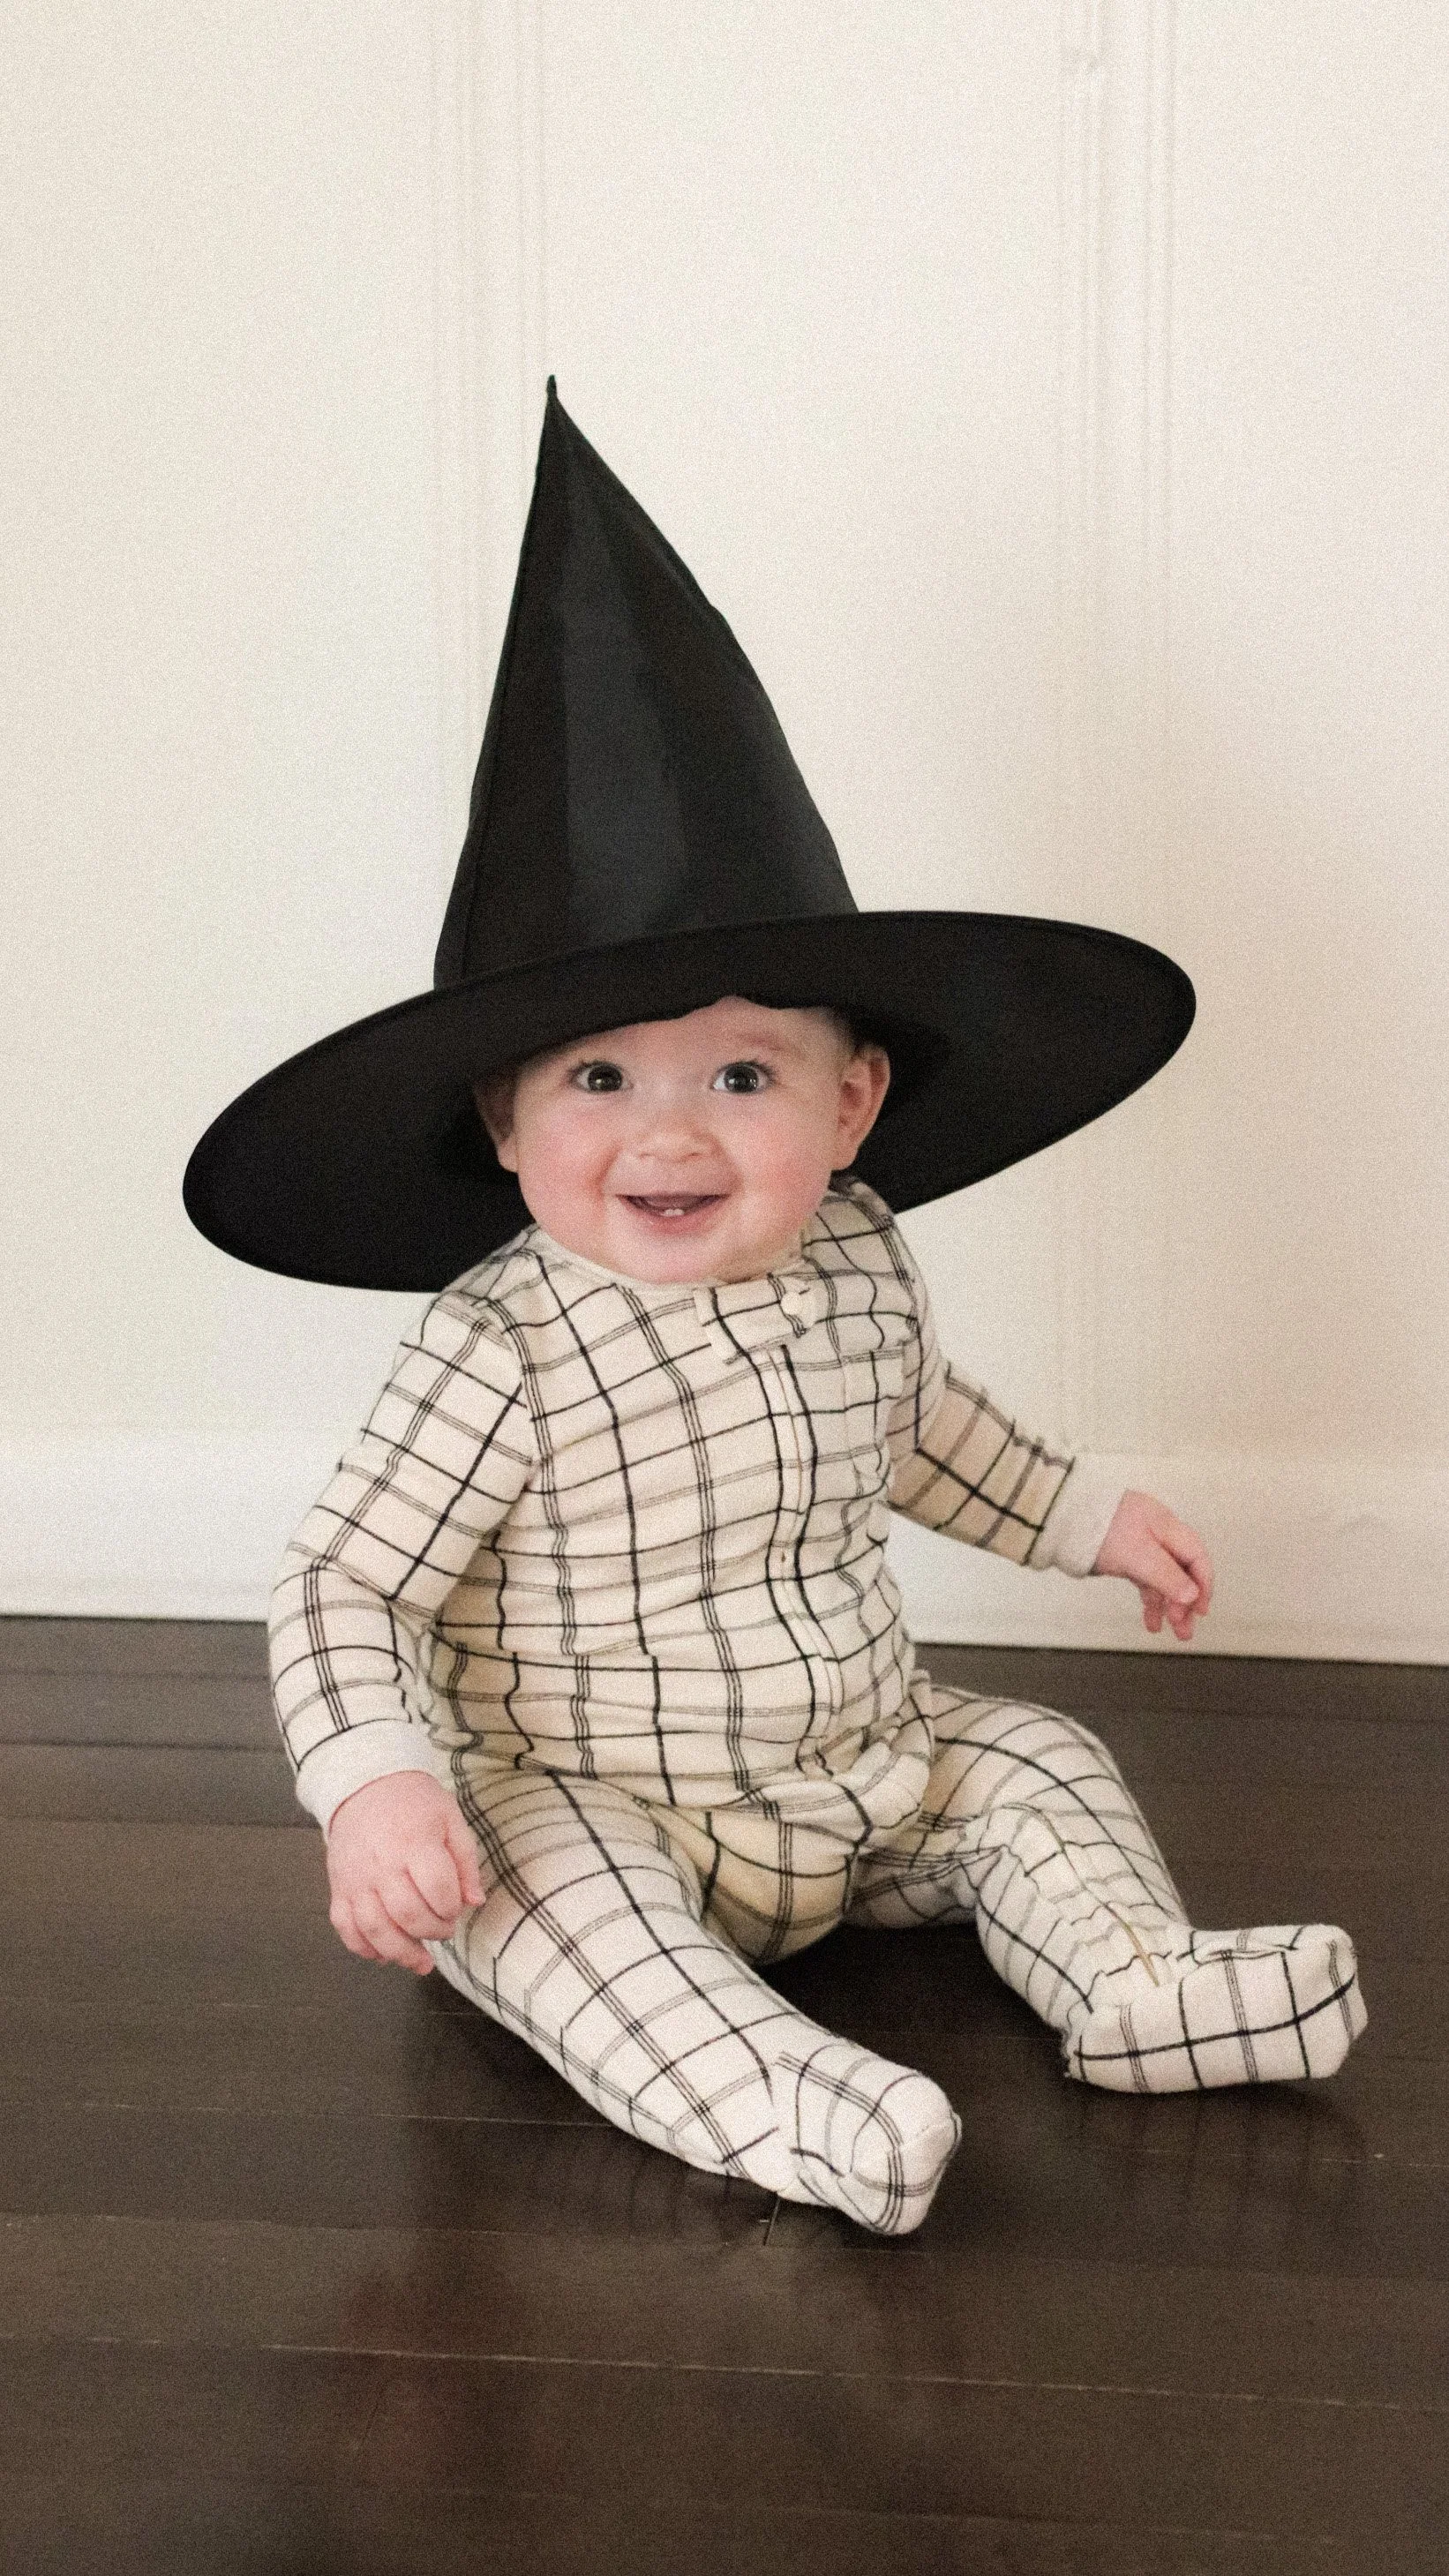
Fall has always been my favorite season of the year but this year feels really special because it'll be Moosh’s first Halloween. As a new tradition for the holidays, we decided to decorate the foyer in Maple House each season.
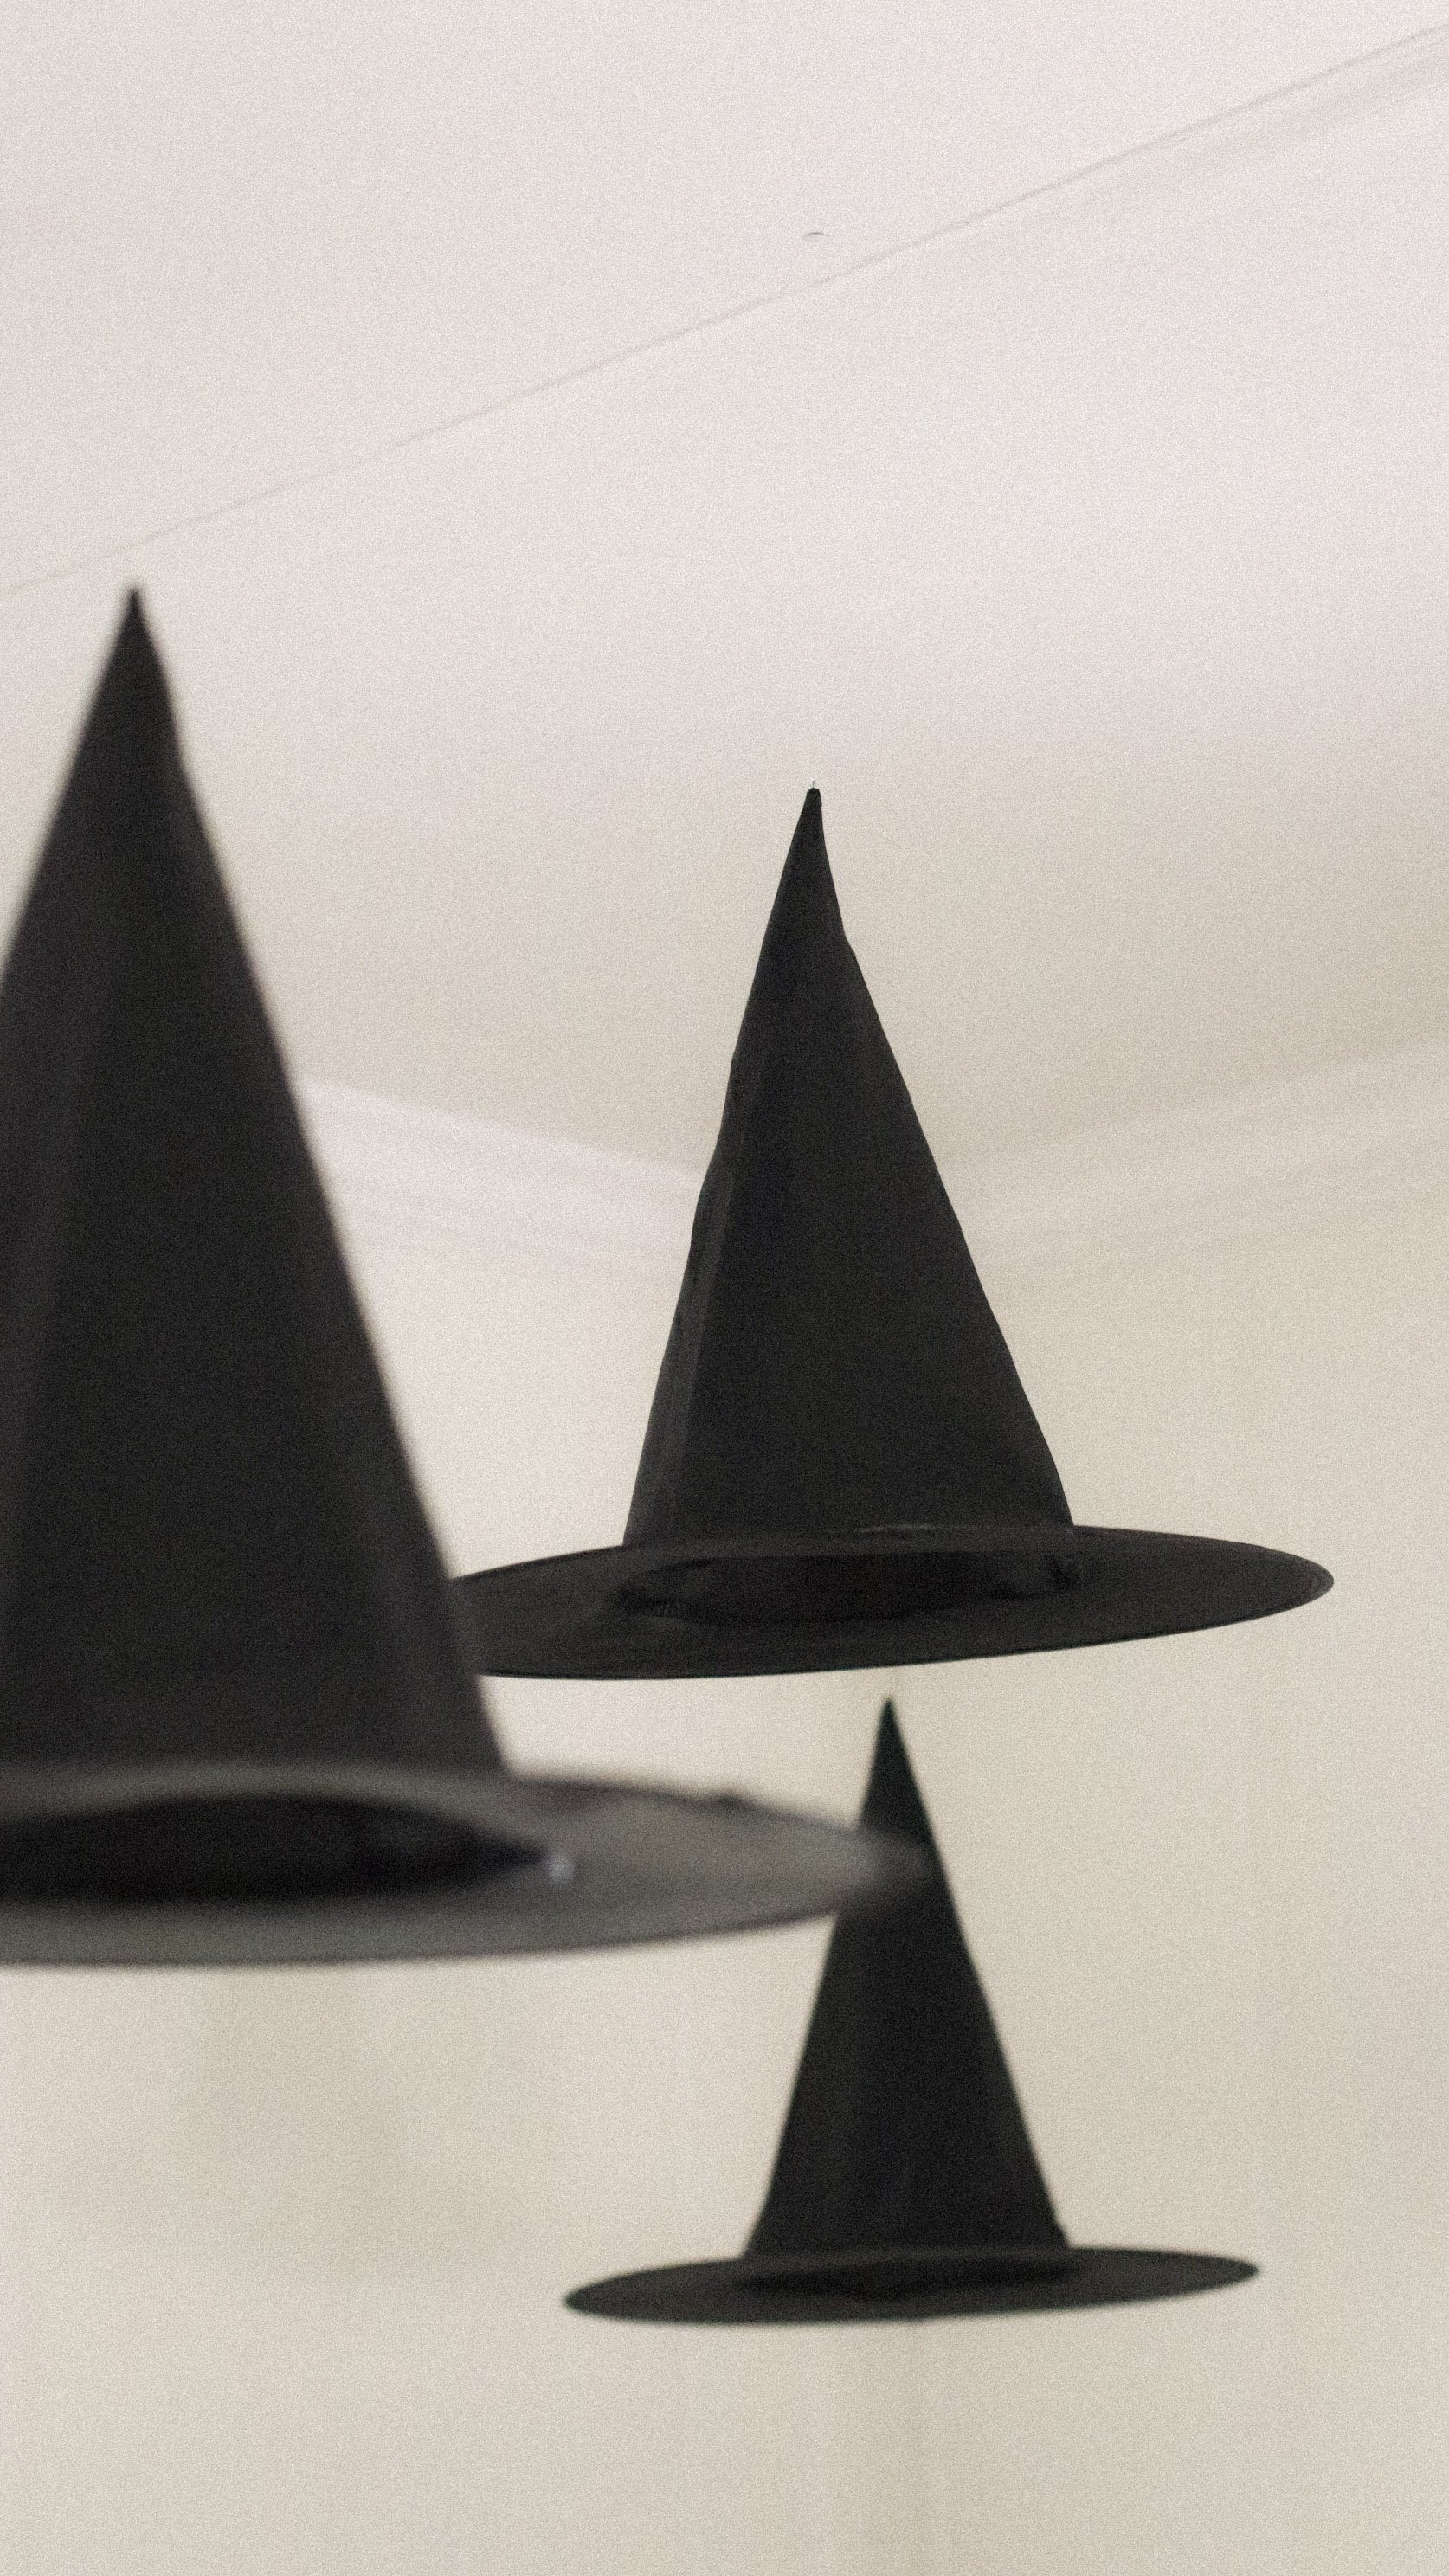
I was looking for minimal Halloween decor on Pinterest & came across a few pins for DIY Floating Witch Hats. Here are the materials & steps I took to create this witchy manor look:
MATERIALS
Scissors
Needle
Step Ladder

This blog post may contain affiliate links
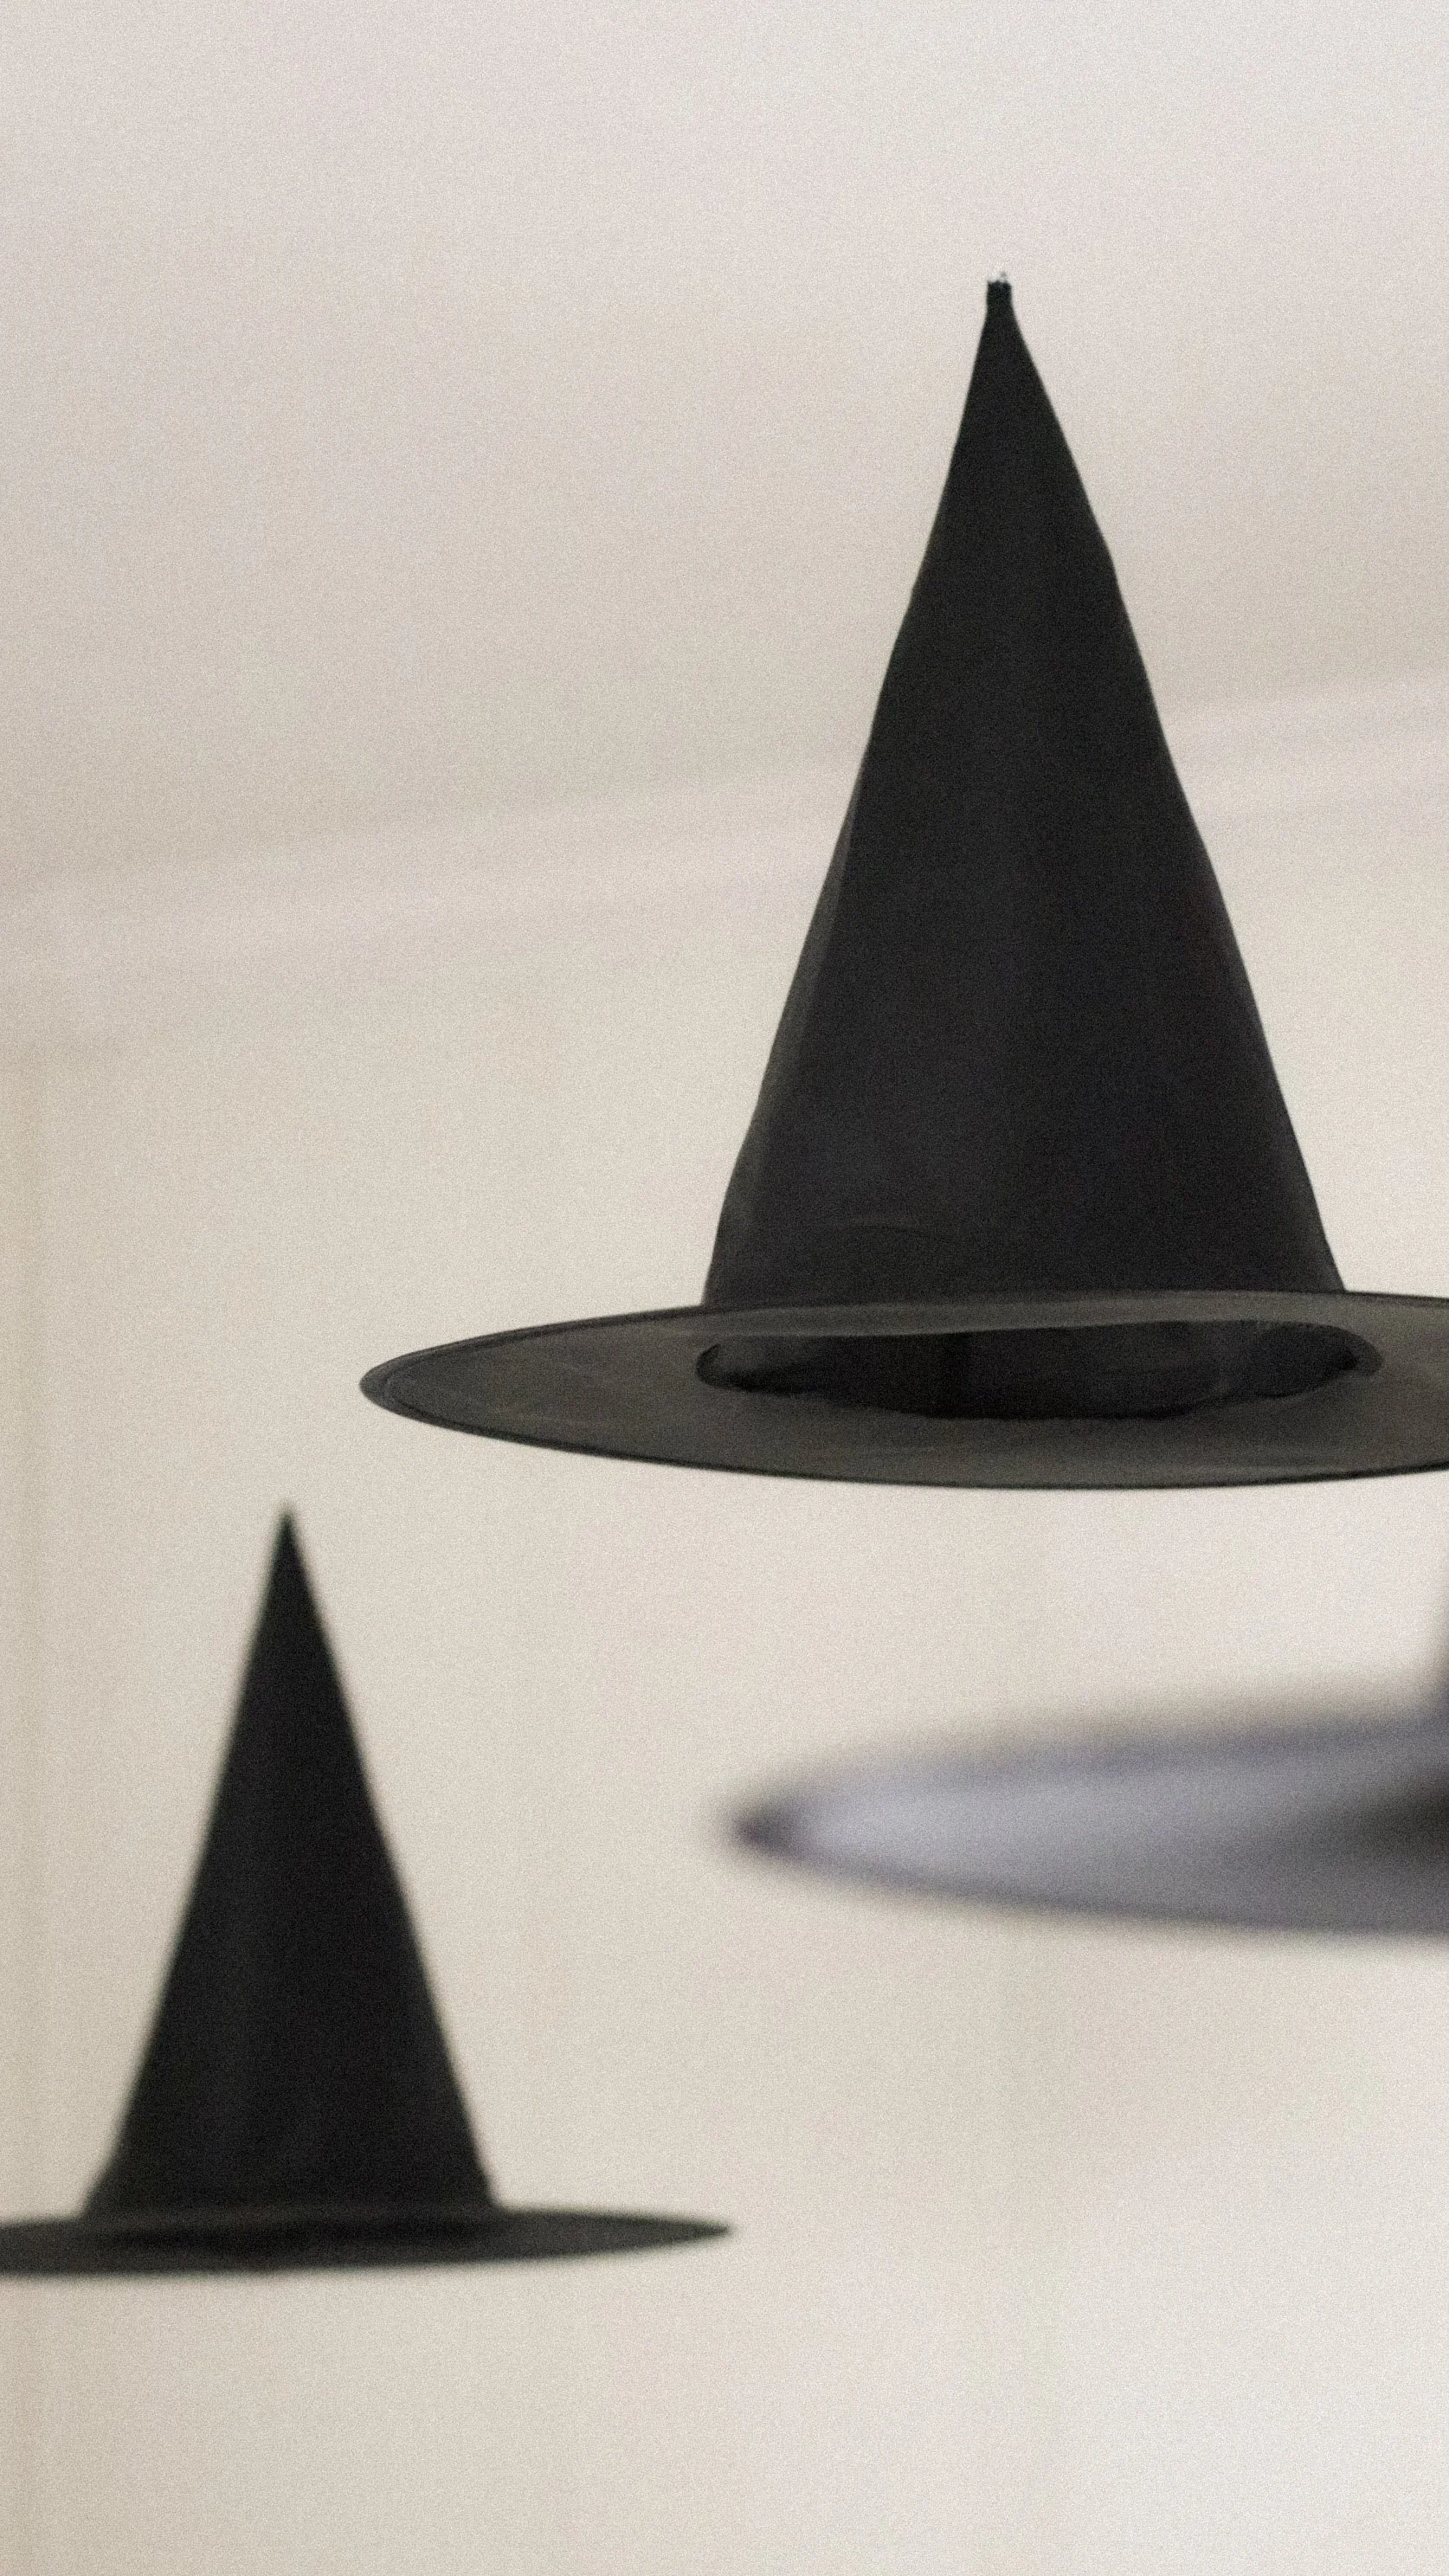
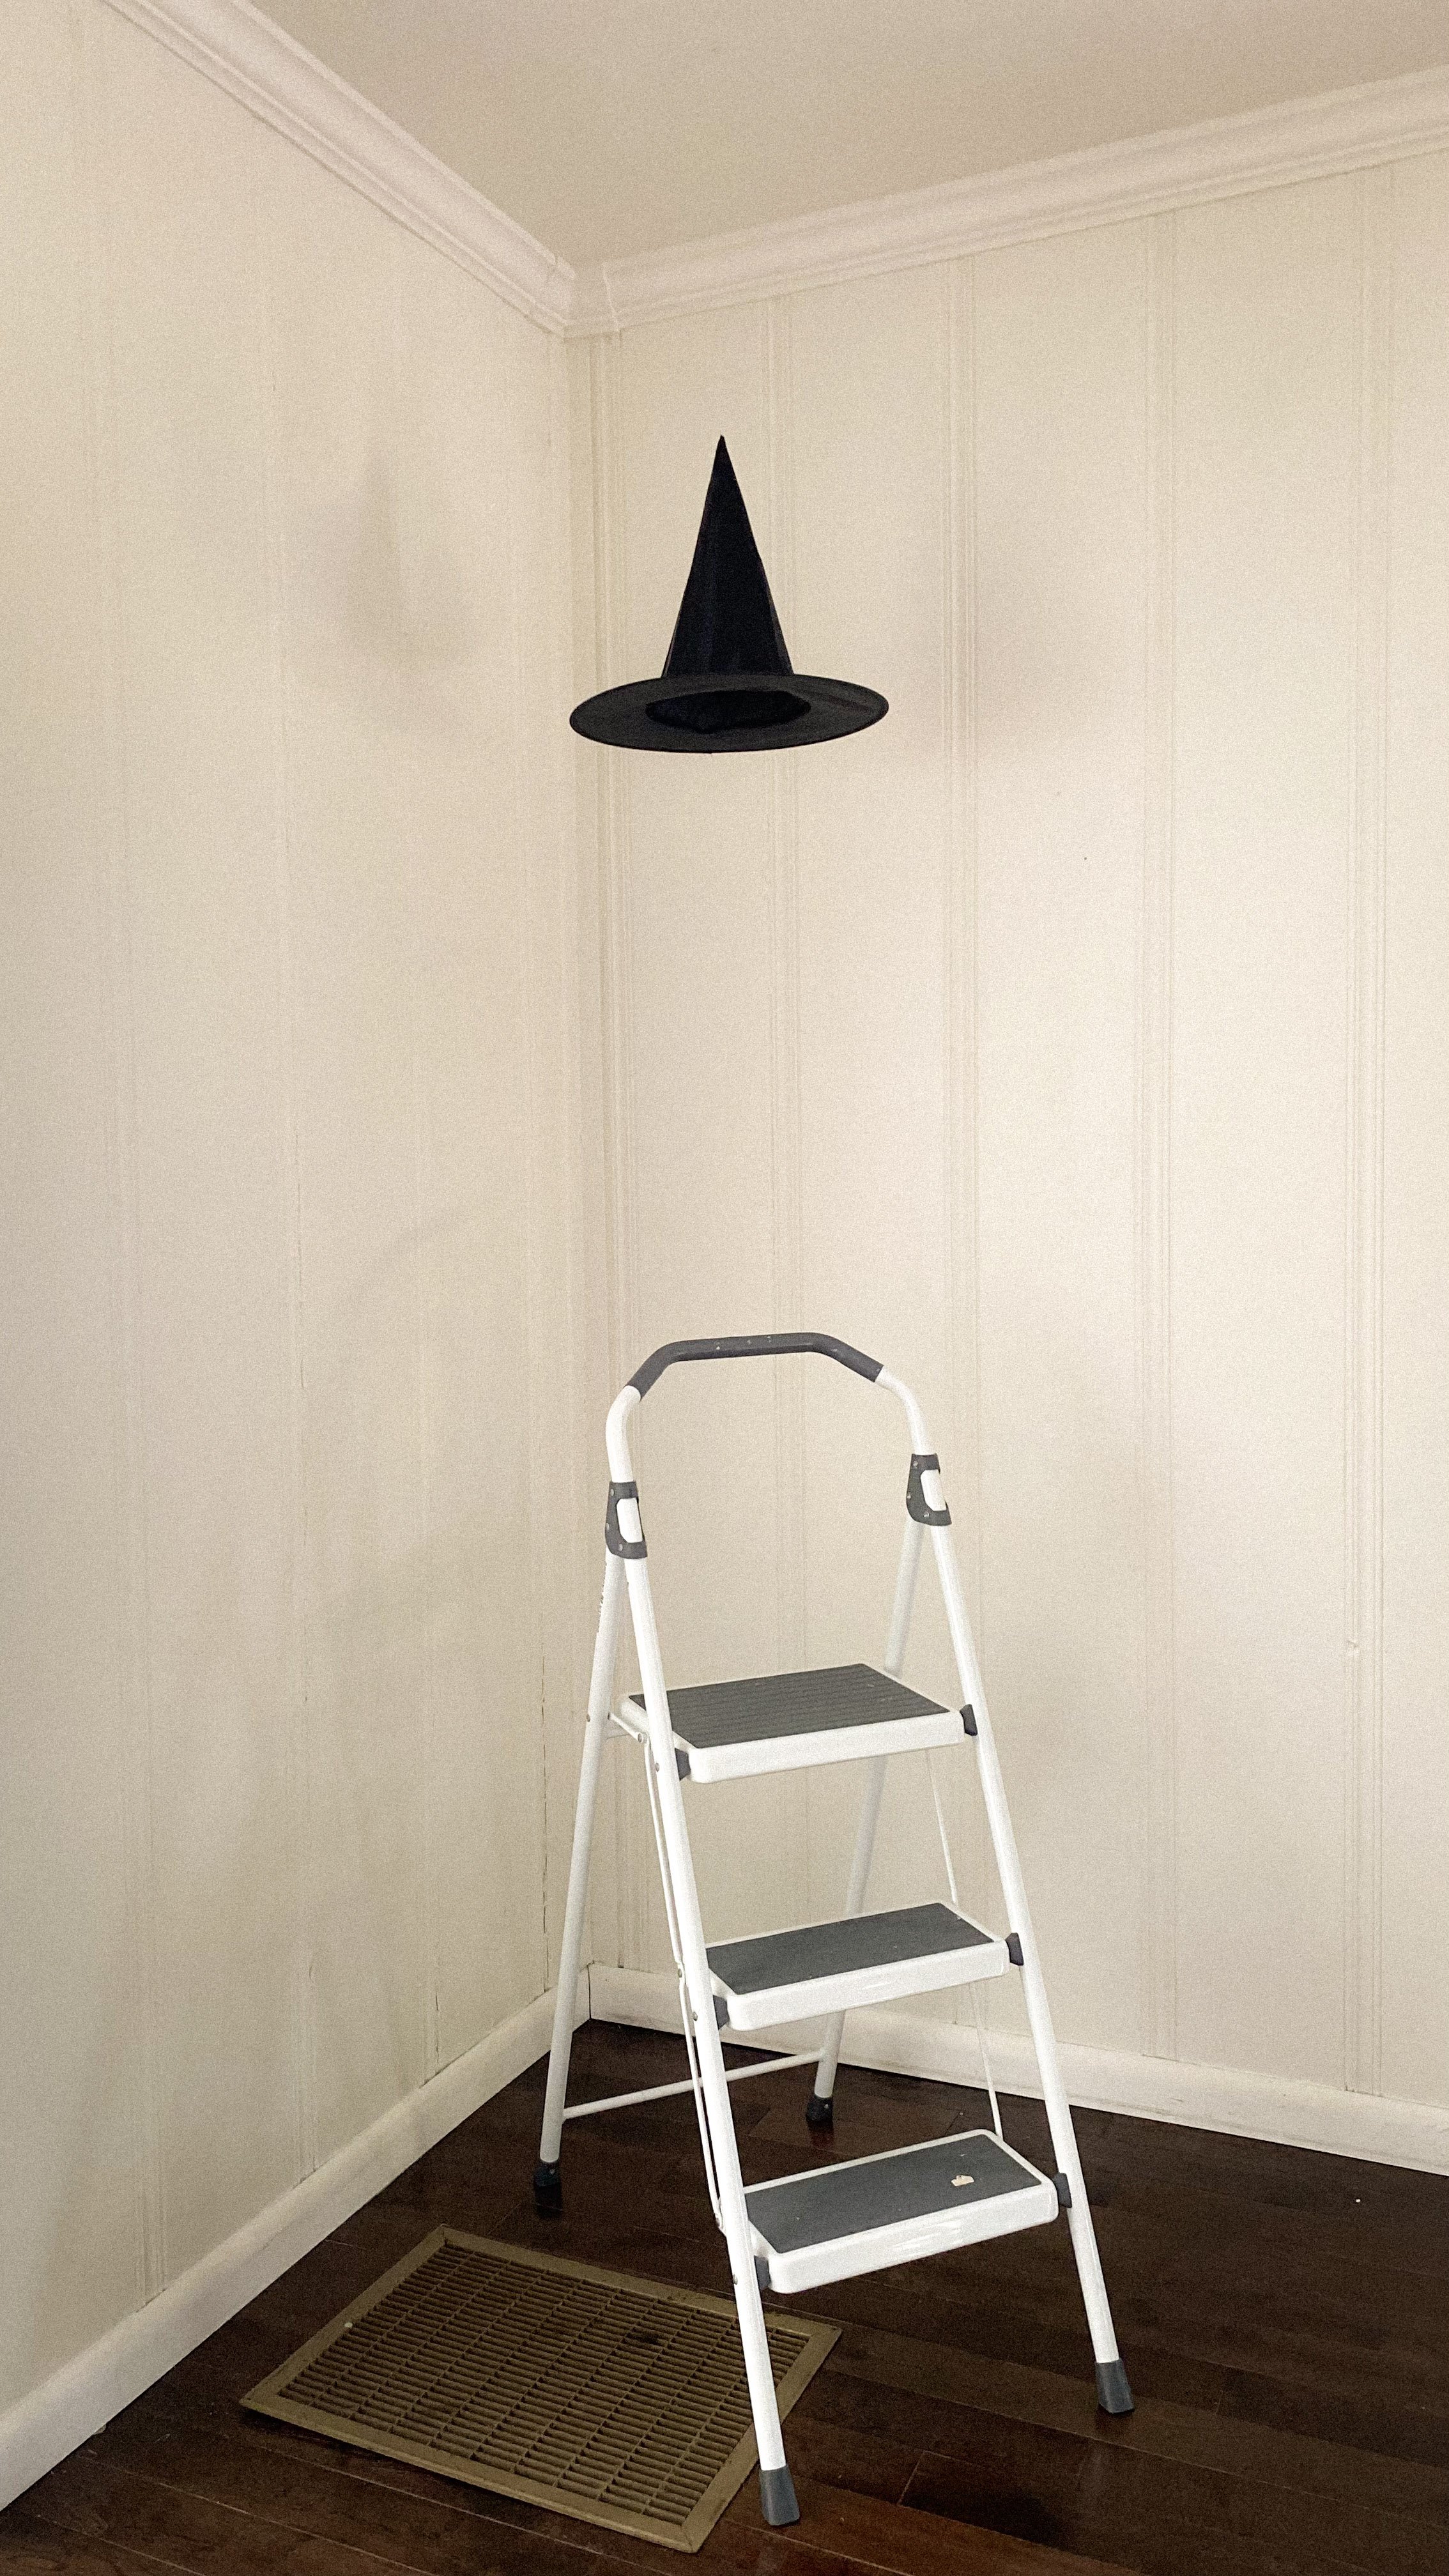
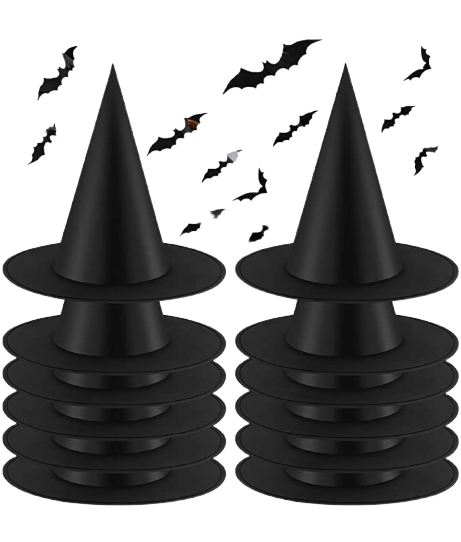
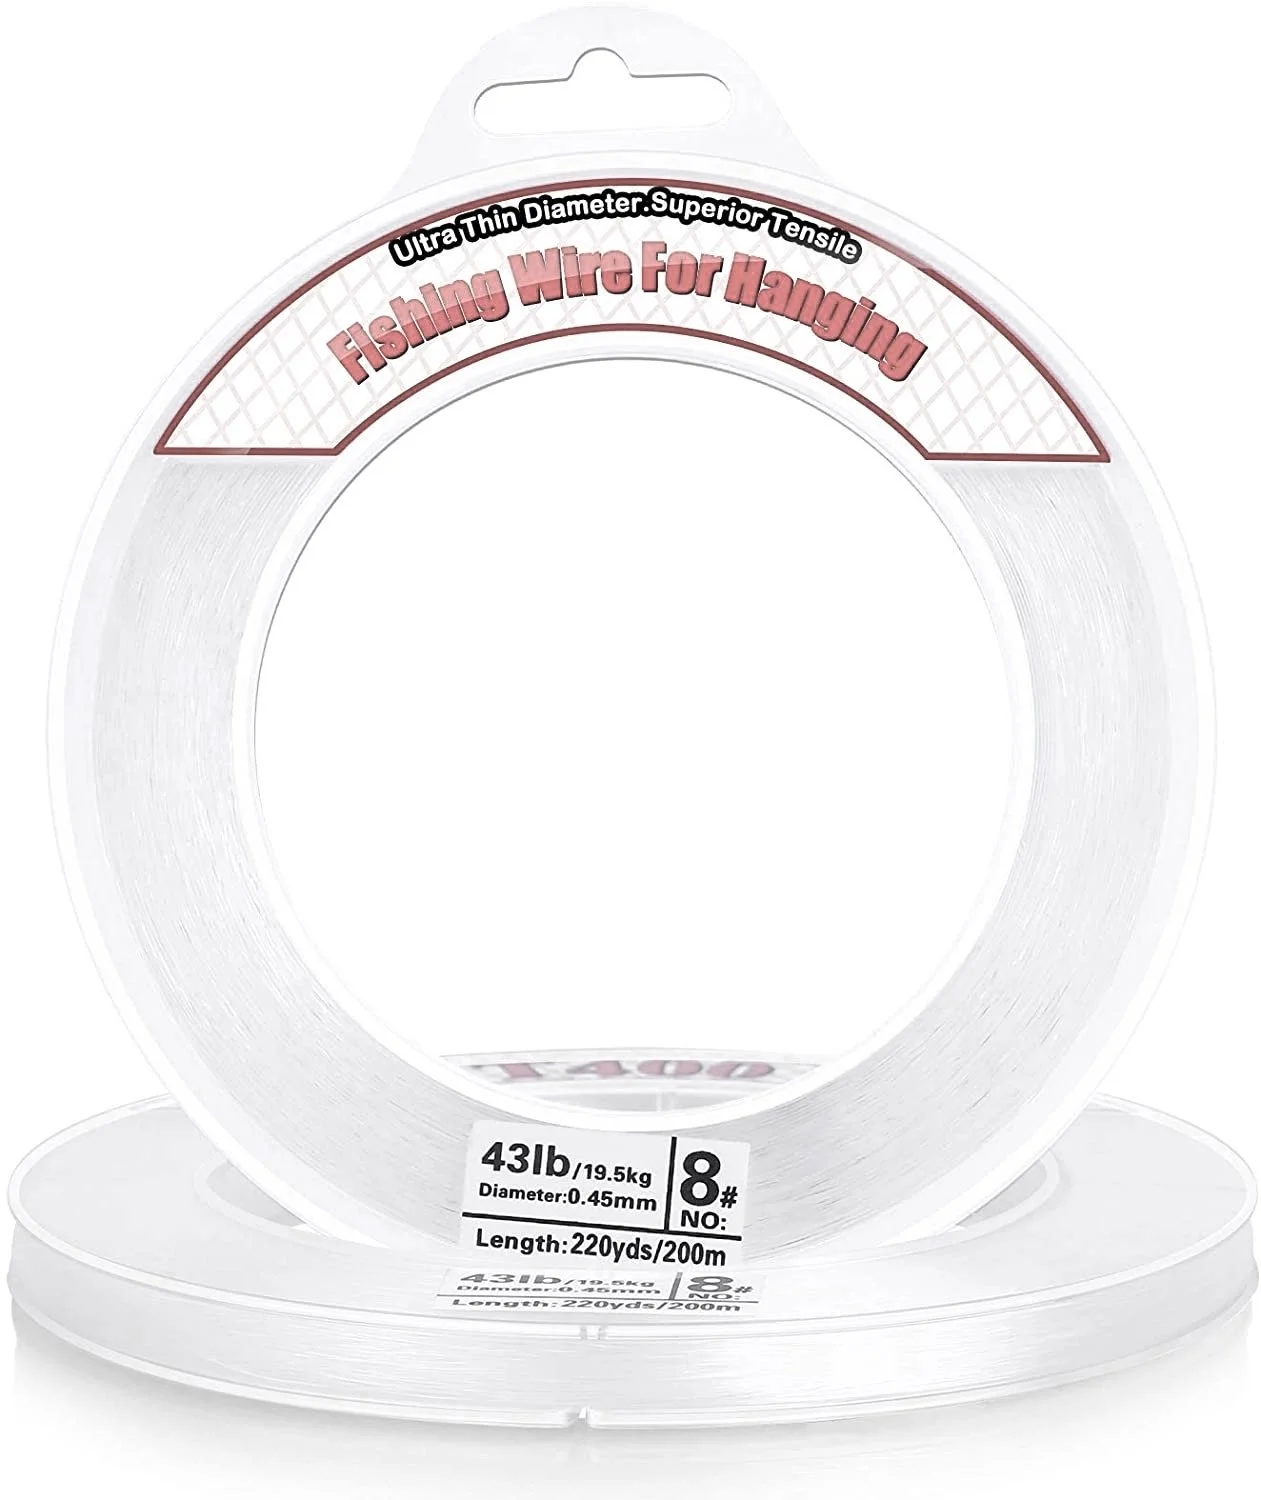
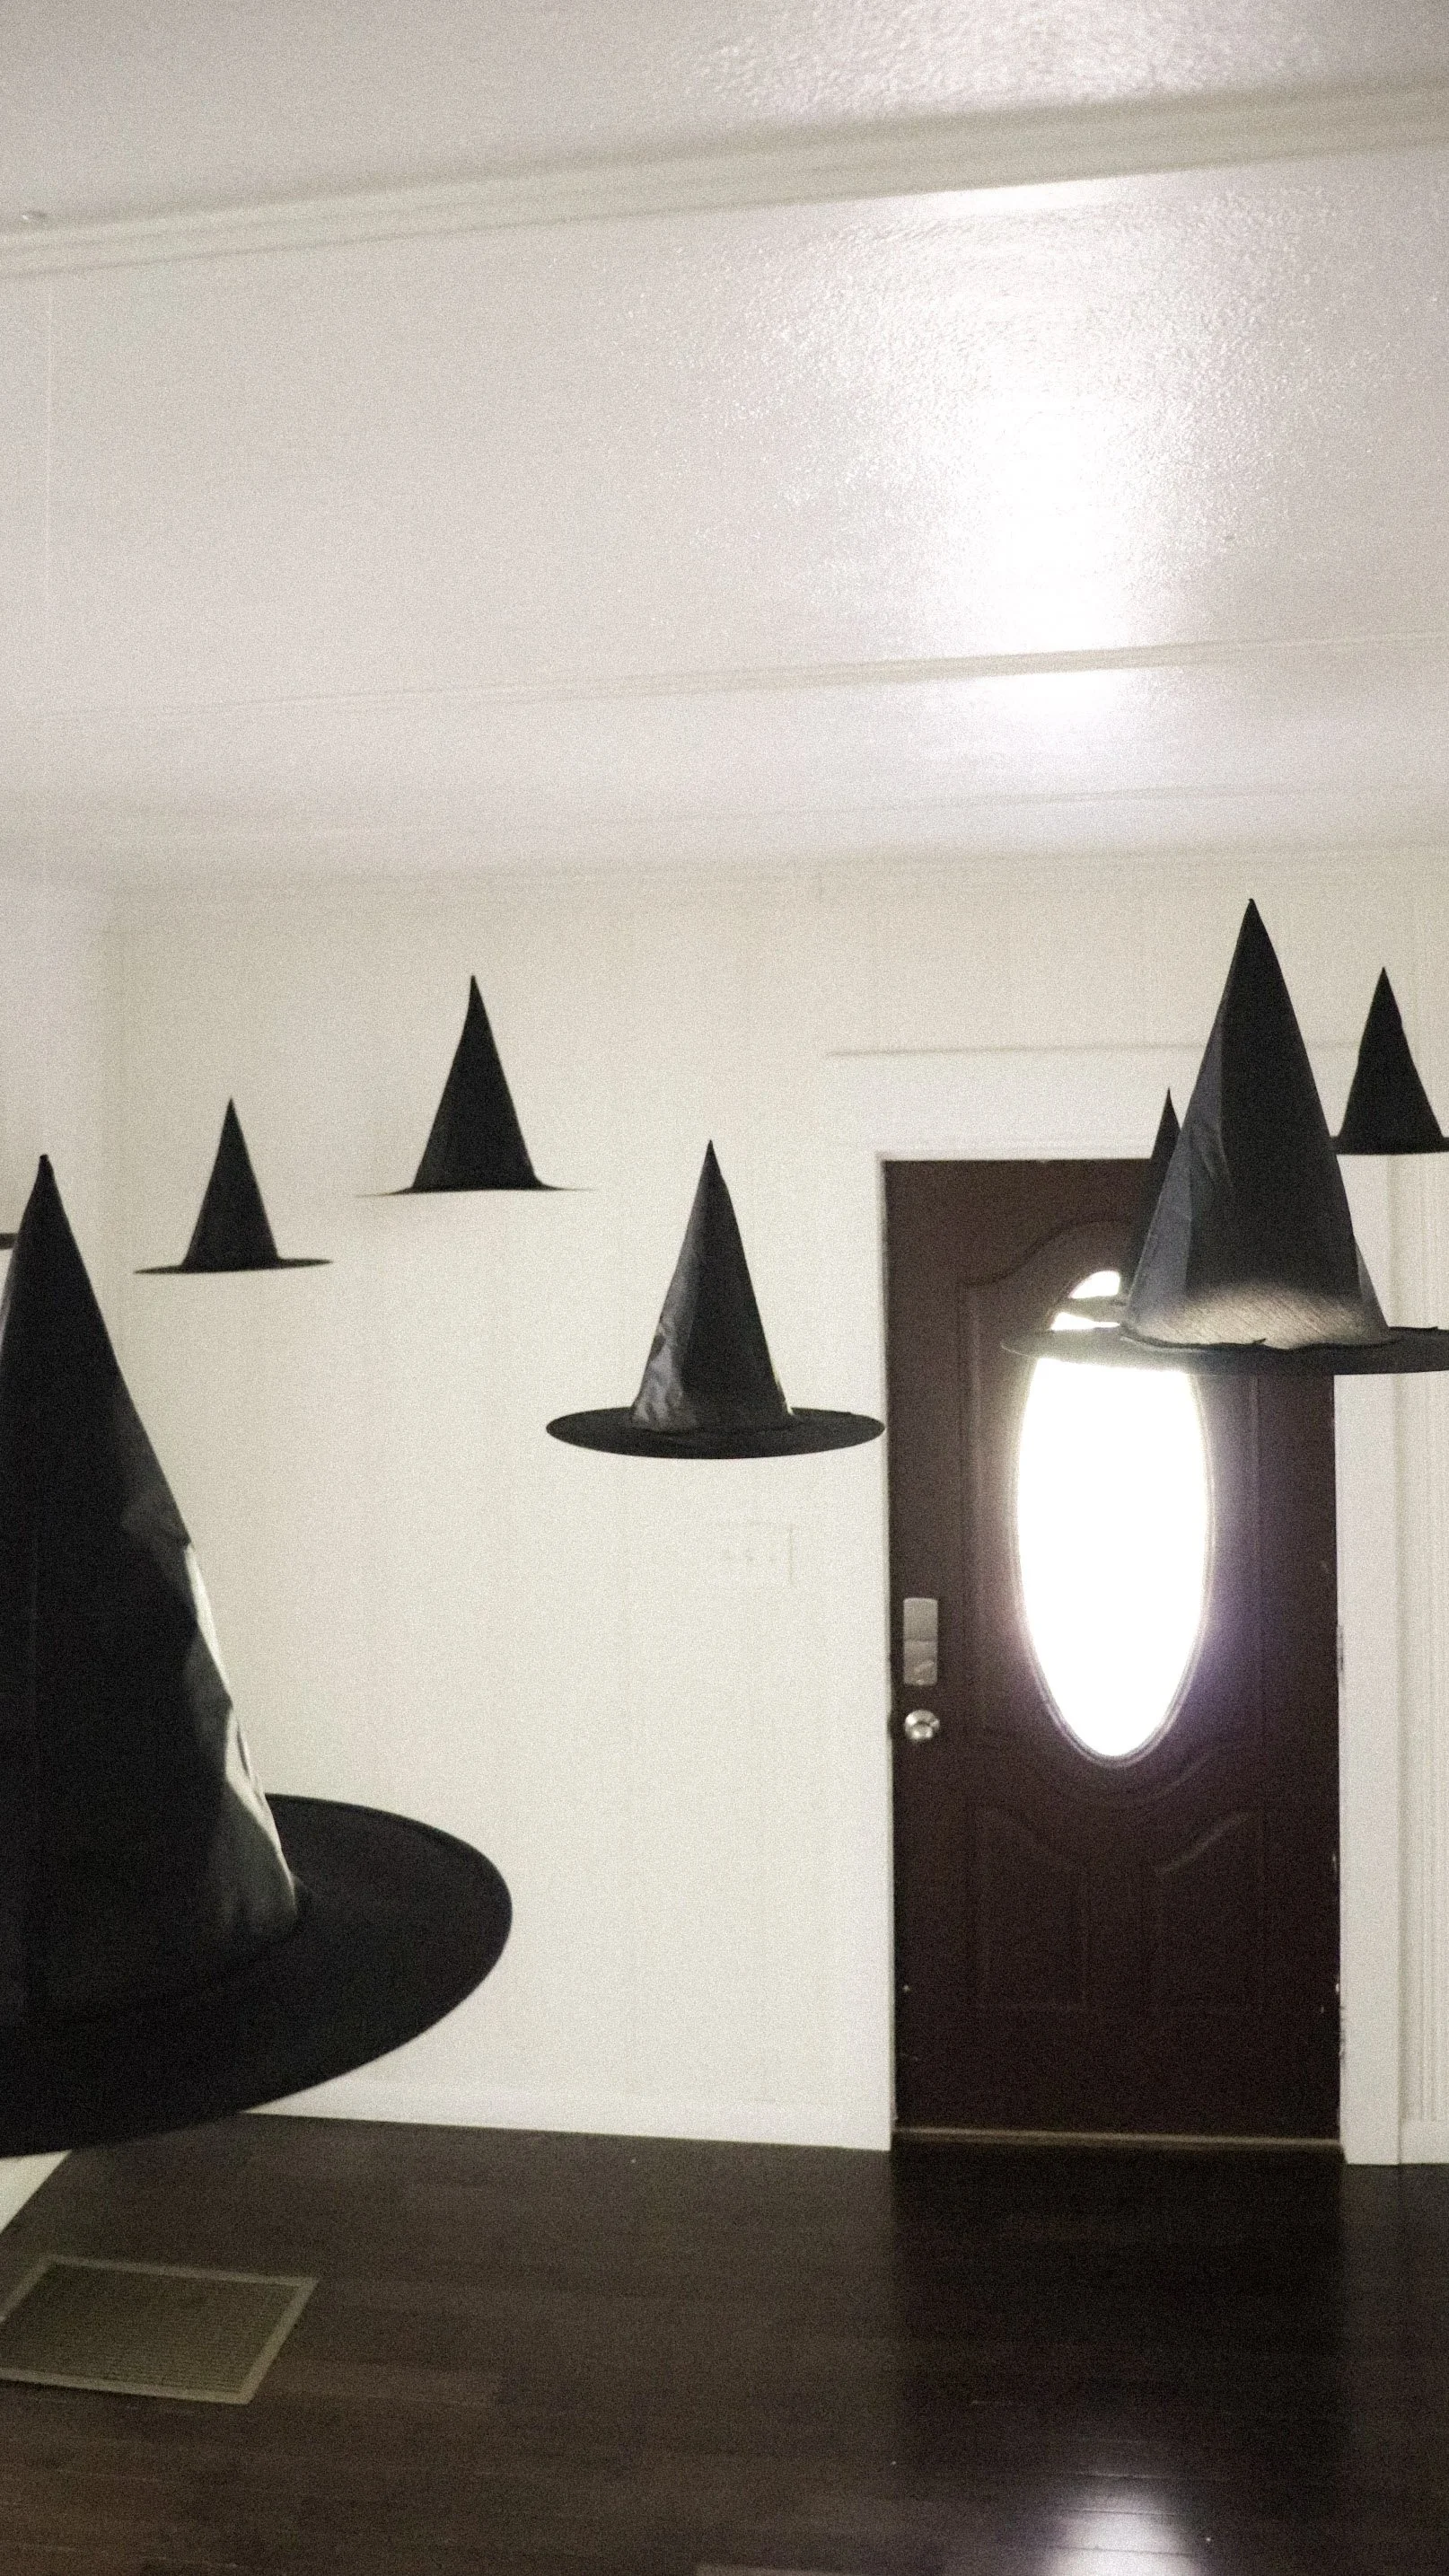
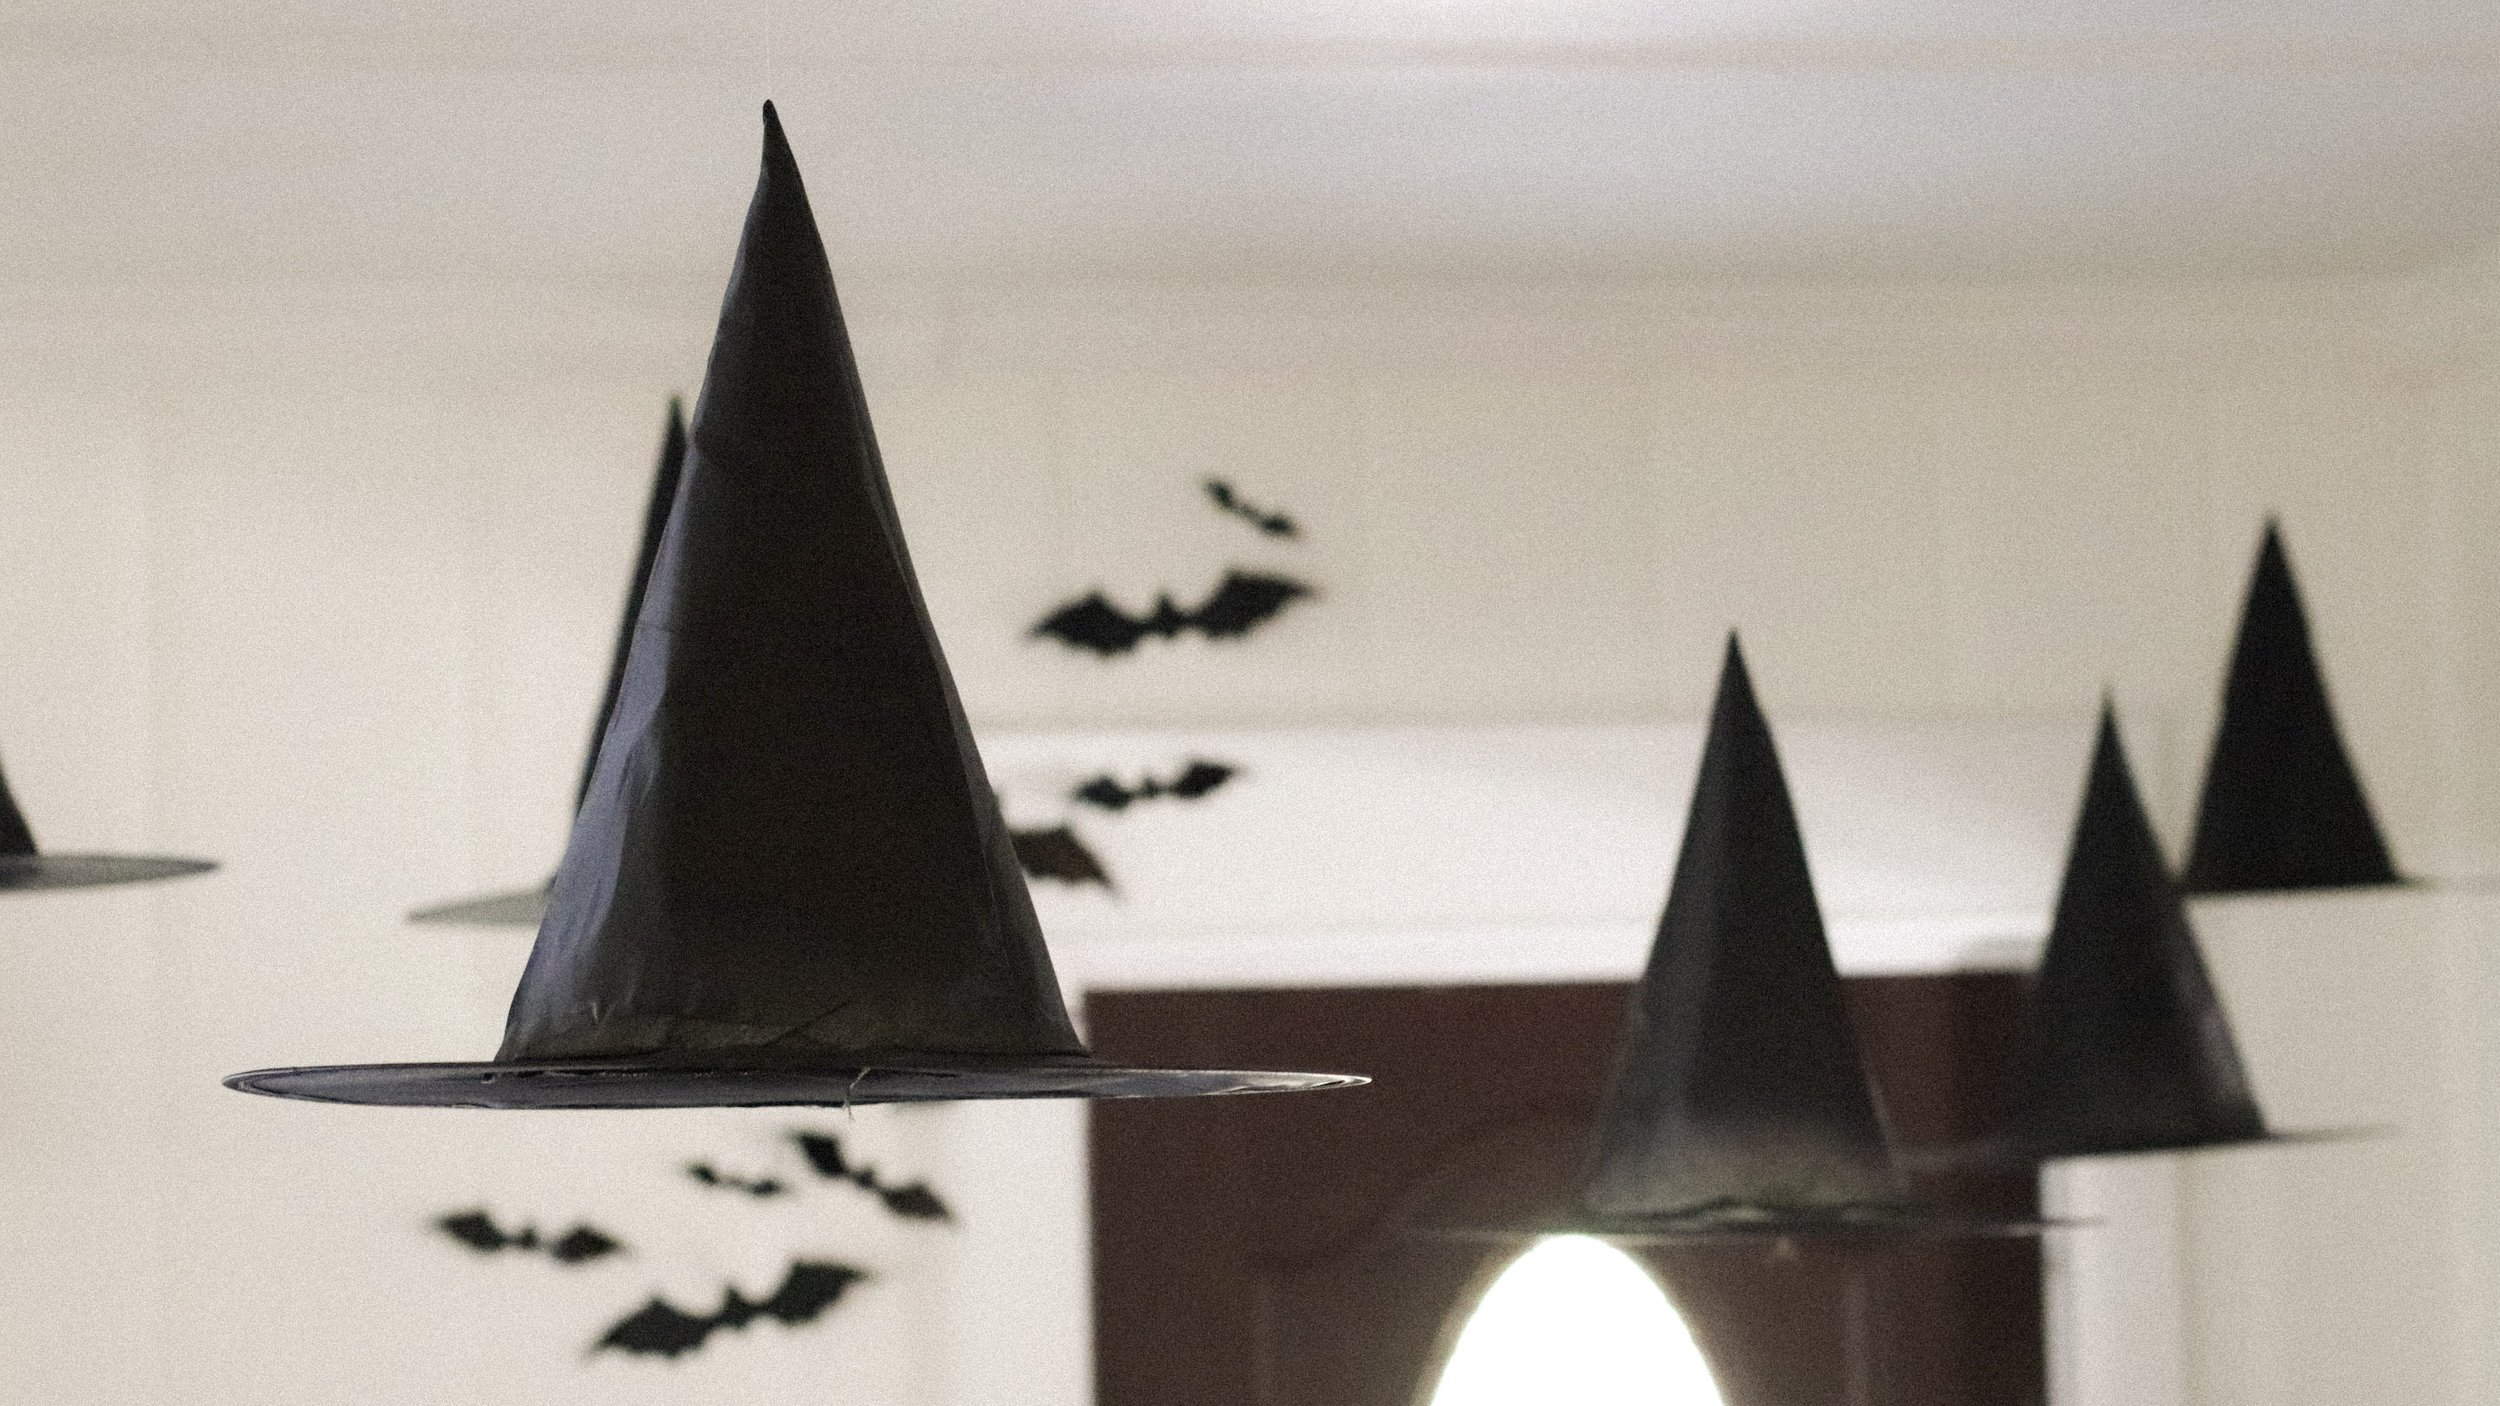
The pack of witch hats that I ordered online came in a set of twelve. I cut several pieces of the same length of clear fishing wire for 7 of the witch hats. I then cut a smaller length for the remaining so that when they hung from the ceiling they would all float at different levels.
Next, I tied one end of the clear fishing wire to a paper clip to serve as a stopper/anchor & looped the other end through with a needle. I then pushed it through the top of the pointed hat from the inside & threaded the wire.
I saw several different versions of the DIY floating witch hats by placing an LED tealight as the anchor so they light up at night.
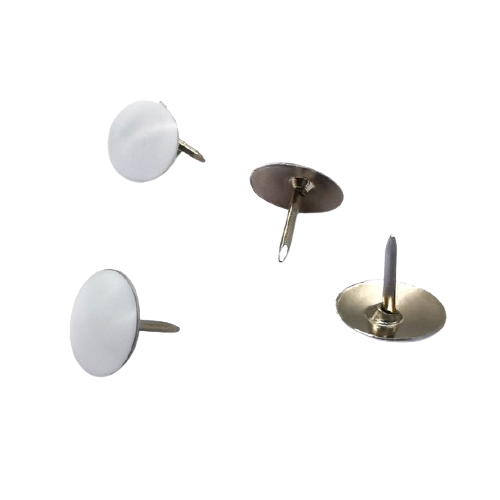
Once the clear fishing wire was pulled through I made a loop & used a white thumbtack to hang them from the ceiling using a step ladder. Depending on your ceiling color & texture you could use clear thumb tacks or clear command strips.
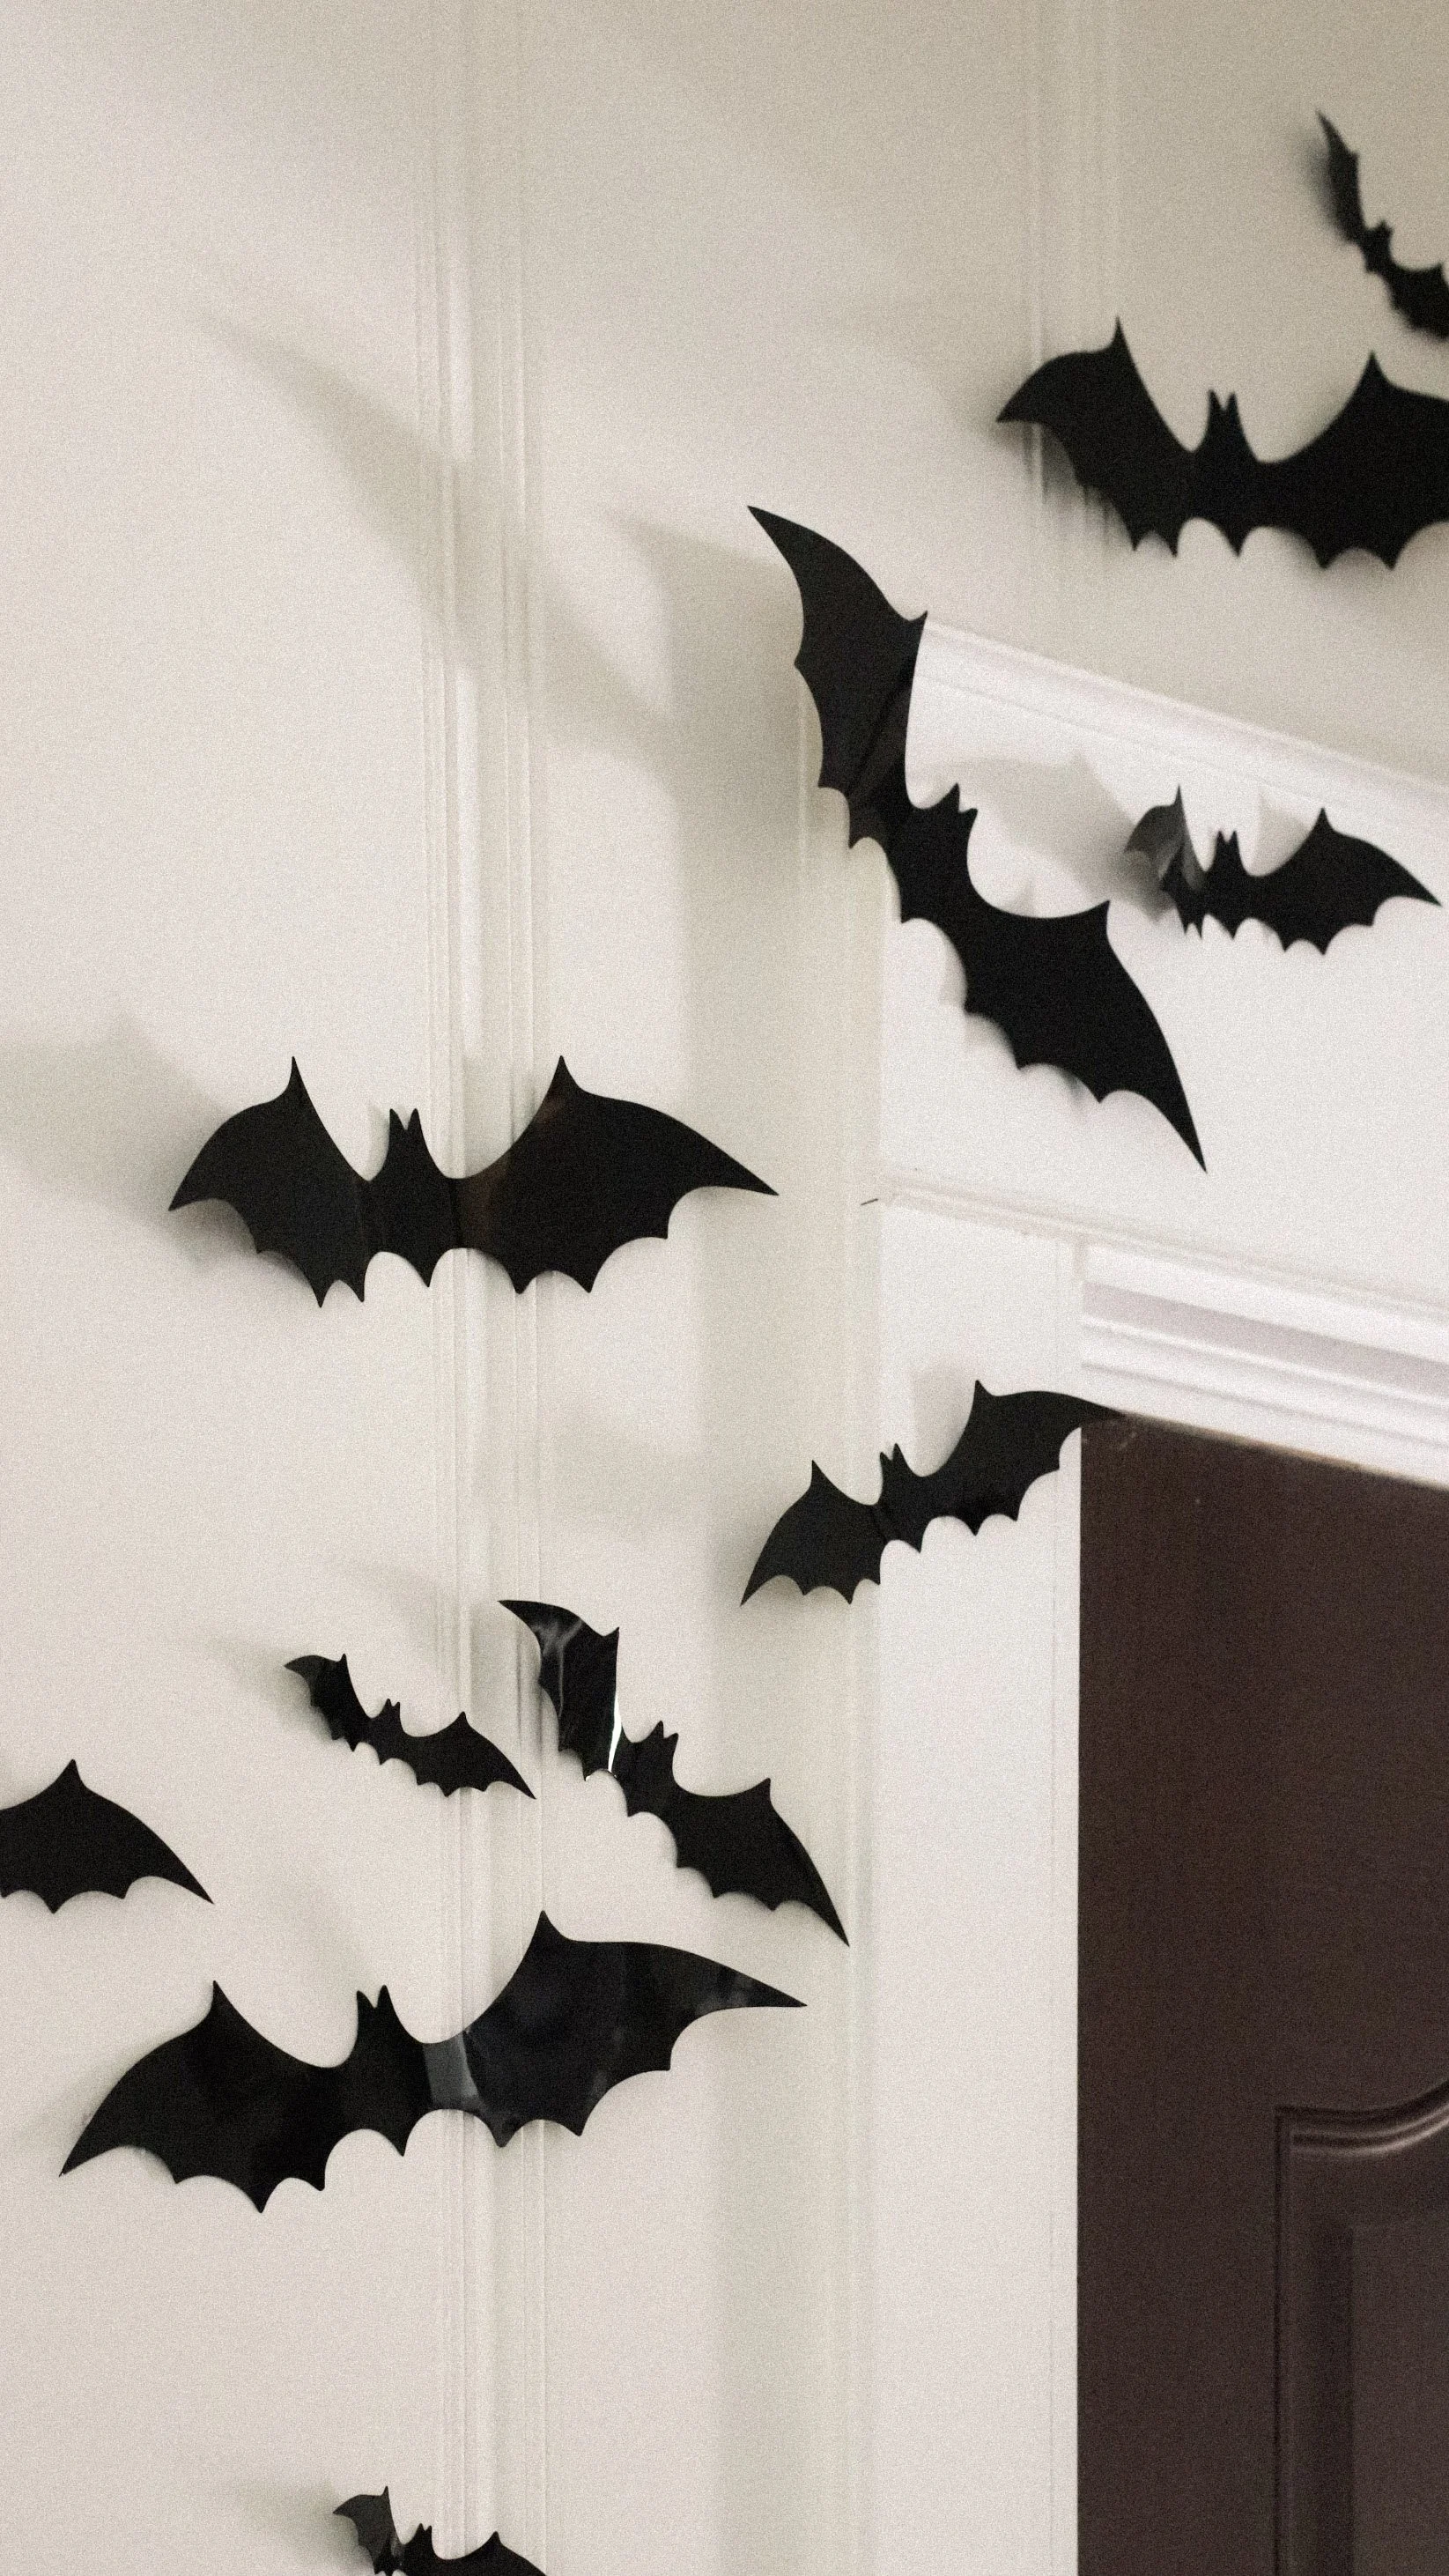
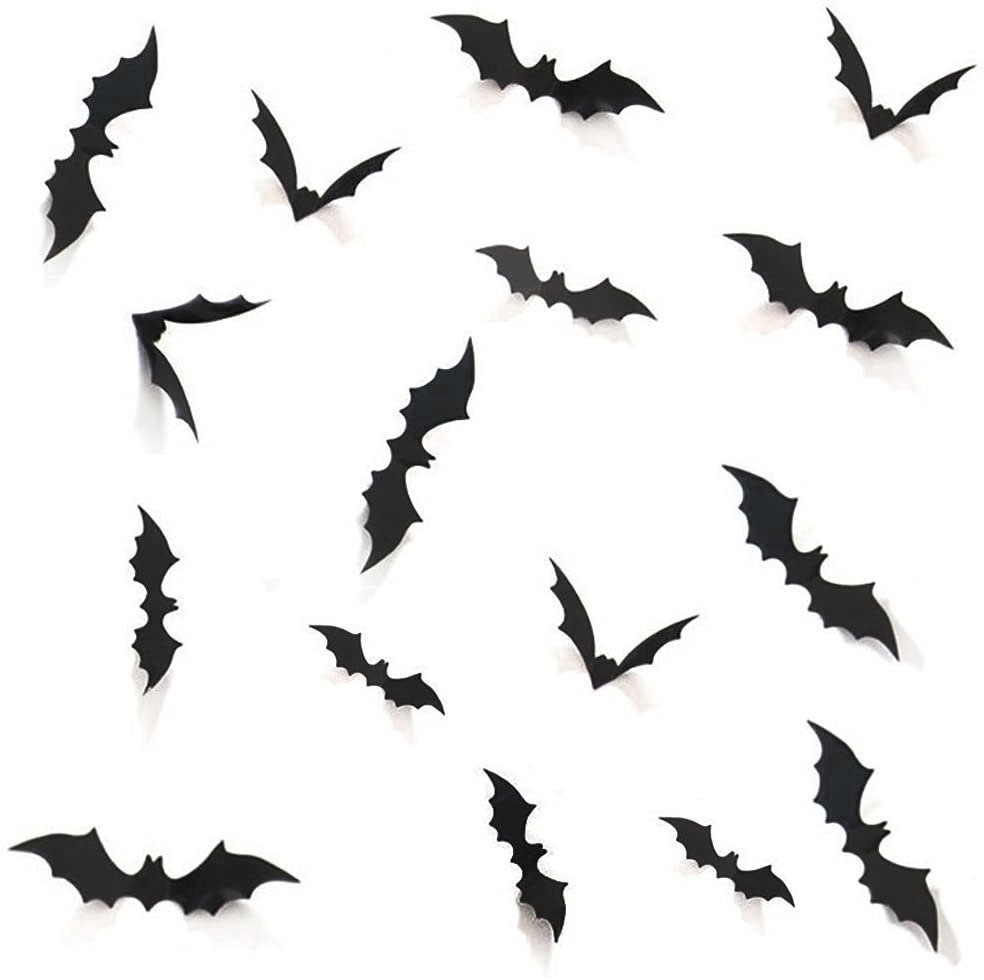
The hats also came with a set of twelve 3D bat decals but I already had purchased some last year so I hung them up by the front door.
Overall I’m really pleased with the final look! It was such an easy & inexpensive way to make our home feel more festive this fall season. The best part is that we can use these decorations inside or outside of Maple House.